Looking for the best backpacking tents for hunting? Do you enjoy nights in the wilderness? Is it your preferred method of hunting doing a backpacking style hunt in the high country? Whether you are an experienced backpacker or just getting into it, you’ve probably looked over some of the available backpacking tents and felt a bit overwhelmed.
Check out Part 1 of this series for the basics of selecting a shelter where we look at single vs double wall shelters, shelter materials, waterproofing etc.
Best Backpacking Tents For Hunting: Test Parameters
The first order of business in finding the best backpacking tents for hunting (or just backpacking in general) is to is to decide on your non-negotiable options. In this review we’ll outline some of the available features out on the market today and help you decide what will work best for your backpacking style. For this review, we look at shelters within the following parameters:
- Two person
- Under 4lbs trail weight
- Bathtub style floor(preferred, but not required)
Some factors, such as trekking pole setup, single/double wall, and freestanding/non-freestanding weren’t things that would exclude any particular tent in searching through some of the best backpacking tents for hunting out there. With these parameters in mind, I began looking at every possible option I could find out there. I looked over roughly 200 tents, and charted the specs on about 40 of them that fit within the above guidelines.
For better or worse, (and I know I left out many great options) the six tents listed below are the ones I decided to test and review.
See the full specs chart on almost 40 shelters I researched.
Best Backpacking tents For hunting: Test Conditions
In my search for the best backpacking tents for hunting purposes, I put each of these backpacking tents through the conditions you’d most likely see in the backcountry; wind, moisture, and cold/condensation. The weather cooperated and gave me some great heavy rain conditions for the test. I also tested for ease of setup and take down. Some fared better than others, but each of these tents present good backcountry options, depending on your needs.
The biggest factor in selecting the right backpacking tent for you, revolves around what YOUR preferences are and what compromises can you live with. When talking ultralight gear, it’s all about compromises. To achieve a lighter weight, you are going to typically give up some creature comforts. That’s just the way it goes.
Best Backpacking Tents For Hunting: Specs/Designs
It can be easy to look at the manufacturers’ specs and make a decision. Be cautious though in doing that. For instance, the “minimum weight” stated may or may not mean you actually have a usable shelter. As a general rule, you are better off going by the “trail weight” or “packaged weight.”
Another factor to consider when looking at specs is the actual usable space. In some designs, the angle of the walls can drastically reduce usable space. The most affected by this was the Nemo Hornet, while the Six Moon Designs Lunar Duo, the Zpacks Duplex, and Hilleberg Anjan 2 were among the best.
Best Backpacking Tents For Hunting: Models Tested
Nemo Hornet 2P Backpacking Tent
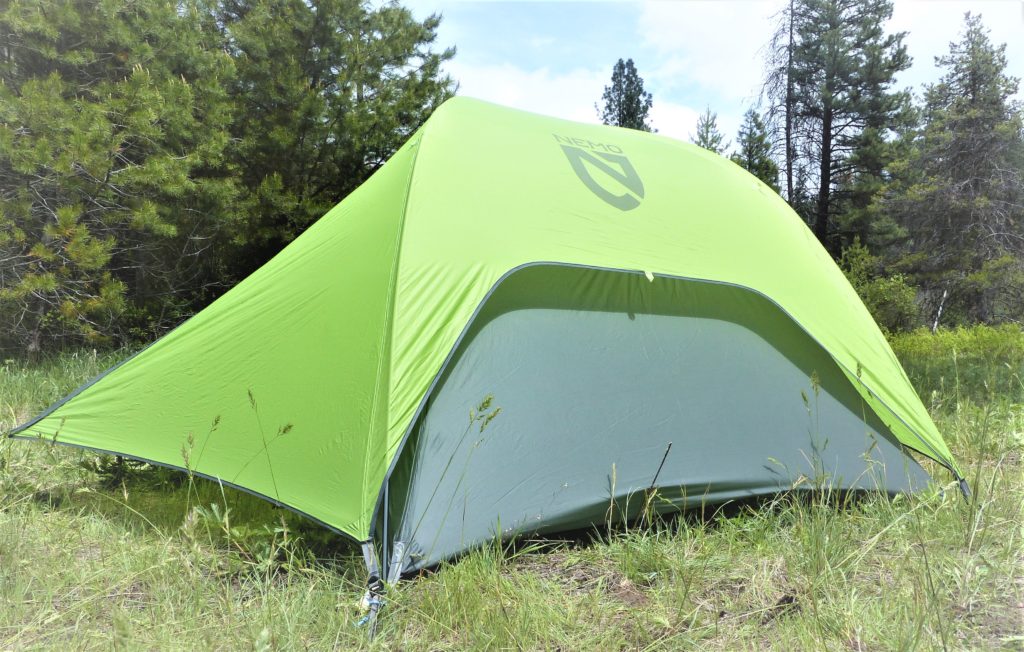
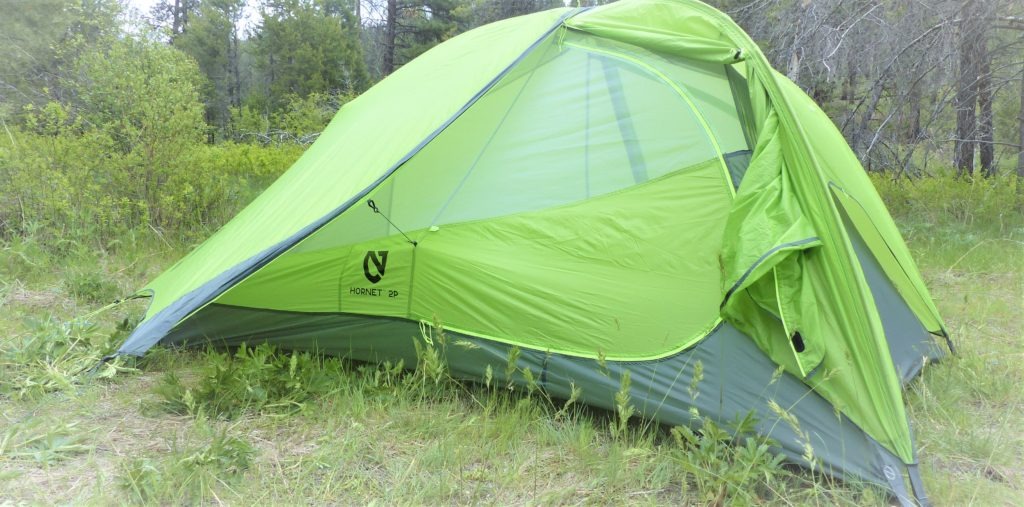
The first tent we are going to look at in our search for the best backpacking tents for hunting is the Nemo Hornet 2p. It is an ultralight backpacking tent with a great reputation and with good reason. It is crazy-light for a two door, two vestibule, two-person tent. It weighs in at an impressive 2lbs 6oz trail weight (1lb 15oz “minimum weight” which I’ll discuss below).
As noted earlier, there are compromises made to attain that weight. If you can live with them, this is a great option. At first glance, the Nemo Hornet appears to be everything you could hope for in an ultralight tent. Once you begin using it, the compromises that had to be made to attain the weight become evident. The peak interior height is below average for ultralight tents at 39 inches. Both of the vestibules are small but usable.
The Nemo Hornet uses a ripstop nylon fabric. The rain fly is silicon treated on the outside and polyurethane treated on the underside. The silicon treatment on the outside gives the Hornet extra weather protection and helps offset the super thin material used to keep the weight down. Nemo gives the Hornet a 1200mm hydrostatic head waterproof rating.
The 15D floor is the thinnest of all the tents tested, so you would be wise to use a footprint to prolong the life of the tent. That of course adds weight though.
Nemo Hornet 2p Tent Review: The Good

Nemo Hornet 2p Weight
The Hornet is one of the best backpacking tents for hunting out there when it comes to a full double wall tent at just over 2lbs. It packs up crazy small and is something that can be thrown in your pack and hardly noticed. Setup is super easy and there is plenty of room for one person plus gear. Like many ultralight tents, it’s really tight for two people as noted below.
Nemo Hornet 2p Wind/Rain Performance
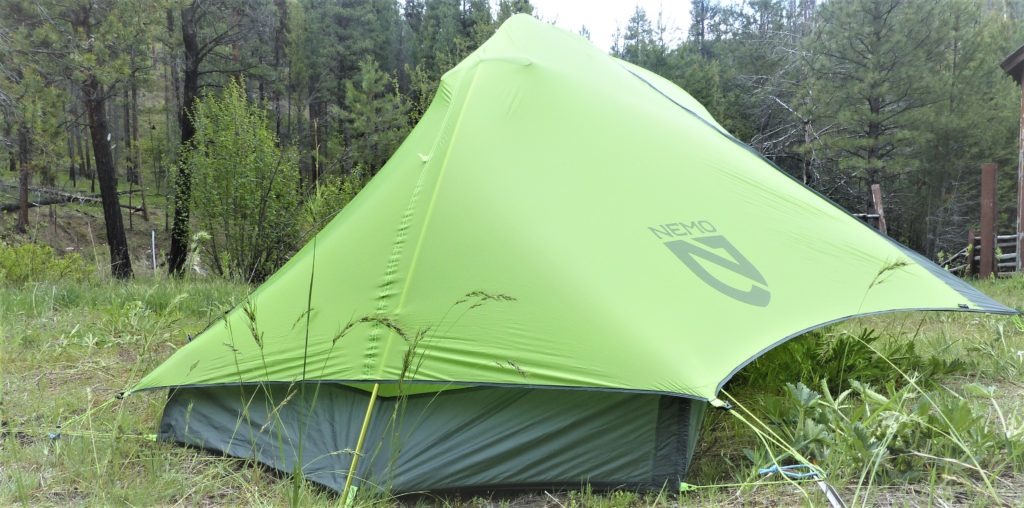
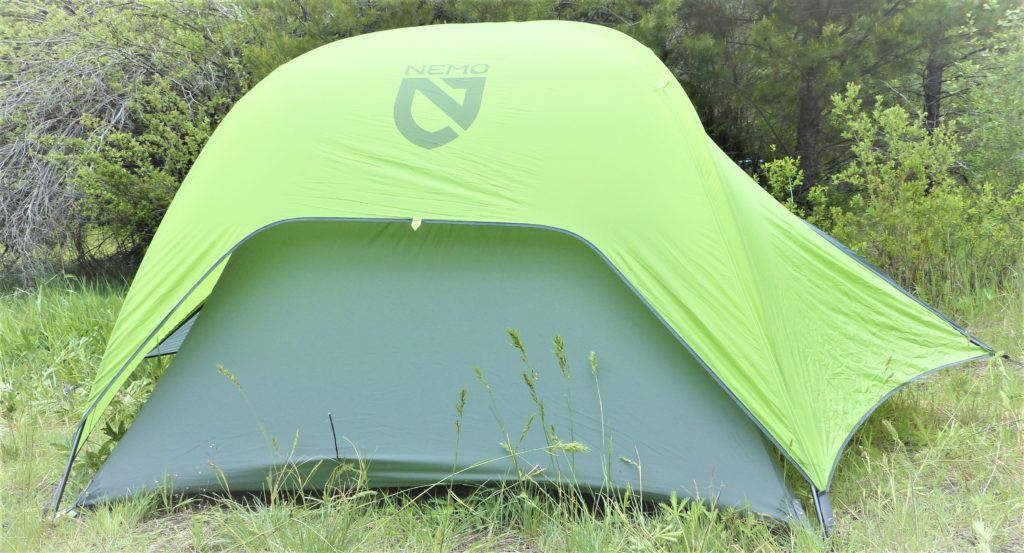
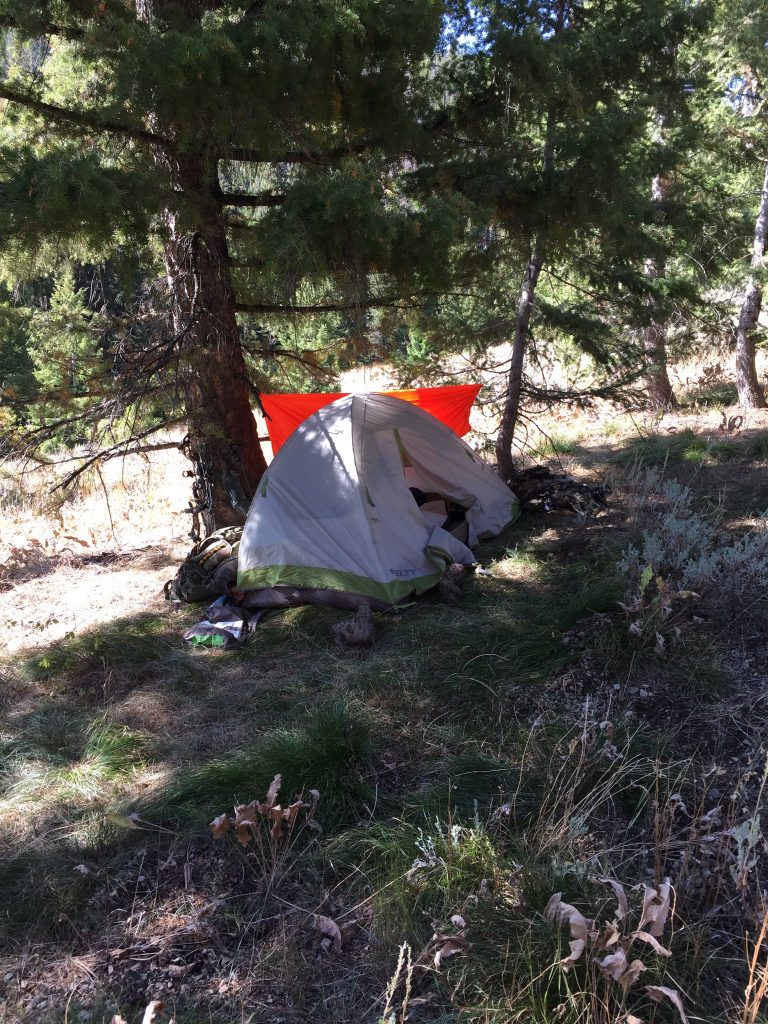
This tent performed flawlessly in the wind test with the poles maintaining the tent’s shape well. It also performed well in the rain and was bone dry after 12 straight hours of steady rain. The above photo was taken after the rain and shows the minimal affects the rain had on the Hornet. The outer layer of silicone does an excellent job of keeping moisture from soaking into the fabric, keeping sagging to a minimum.
Nemo Hornet 2p Features
Another cool feature is the light-diffusing pocket. Stick your headlamp in the pocket and it helps disperse the light throughout the tent.
Nemo Hornet 2p Tent: The Bad
Nemo Hornet 2p Specs
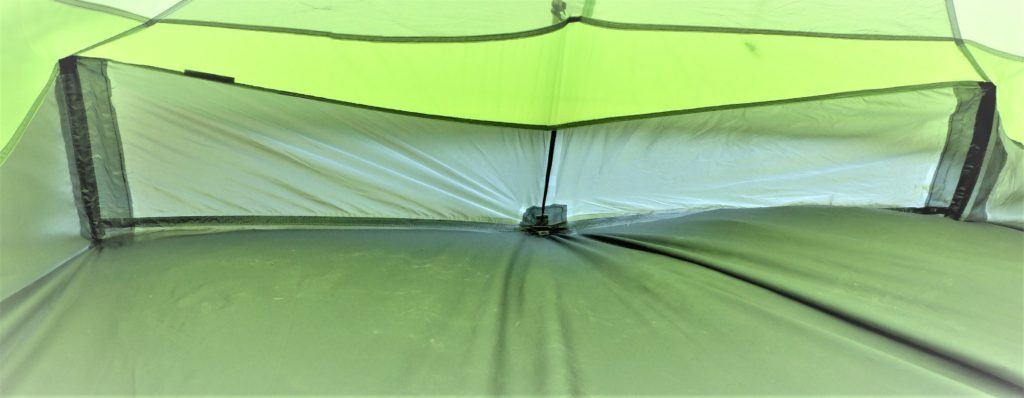
The specs of the tent don’t accurately represent the usable space inside the tent because of the angle of the walls. The updated version of the Nemo Hornet (2019 and newer) features the stays shown above which really helped vs the older model. Ultralight tents are expected to be tight for two people of course, but with two average sized adults, you will be touching your tent buddy.
I’m 5’11” and with the updated volumizing struts and the above stays, I was able to use this tent without touching the head or foot, but not by a lot. On the pre-2019 version, I had to pick between my head or feet touching a wall, so the changes proved to be very advantageous.
If you are taller than 6 feet, I wouldn’t recommend this tent due to its length. Even though the specs show it as being 85 inches long, the angle of the walls take away usable space from the Hornet, even in the updated version, thought it’s much much better.
Nemo Hornet 2p Usable Space
This brings me to the next potential issue. At the head of the tent, the rain fly does not go all the way to the ground and leaves that wall uncovered. This makes that critical part of the shelter a single wall tent. To make matters worse, rain is shed from the fly directly onto this single wall portion, causing the wall to sag in a bit. This further reduces the usable length of the tent. In short, you are likely to experience, at a minimum, some condensation and/or have your head touch the wet, cold wall in heavy rain conditions.
Nemo Hornet 2p Vestibule Size
The vestibules on the Hornet are the smallest of the group, but you do get two of them. They are big enough for a pack and boots, but it’s a tight fit. If vestibule size is something that is important to you, this might not be the best option.
Semi-Freestanding
Nemo’s website classifies the Hornet as “semi-freestanding”. While it does stand up without stakes, the slightest breeze will blow it over. Additionally, you have almost no usable interior space without staking it out, so count on the full weight on this tent to make a livable shelter rather than the “minimum weight.”
Setup Drawback
One last drawback to the Hornet is that there is no way to set this tent up in the rain without the inside getting wet. Some double wall tents offer a “fast fly” setup where you pitch the fly with the poles, then crawl under that shelter to set up the body of the tent. This one doesn’t offer that feature, so you are basically out of luck if you are forced to set this up in the rain. In dry climates, this isn’t a big deal. But, if you hunt in frequent rain showers, you might find yourself sleeping in a wet tent.
Big Agnes Copper Spur UL2 Backpacking Tent
Next up in our search for the best backpacking tents for hunting is the Big Agnes Copper Spur UL2 is a time tested, well built backpacking tent from Big Agnes. Loved by backpackers and hunters for many years, this tent is full of features and provides you with more space than the Nemo Hornet, both in the vestibules and interior. Overall, the Coppers Spur performed well in both the wind and rain tests.
There were, however, a few annoyances. The minor annoyances wouldn’t make me shy away from this tent though. The Copper Spur uses a ripstop nylon fabric that is polyurethane treated on the underside of the fly. Big Agnes tested the Copper Spur up to a 1200mm hydrostatic rating.
Big Agnes Copper Spur UL2: The Good
Copper Spur UL2 Set Up
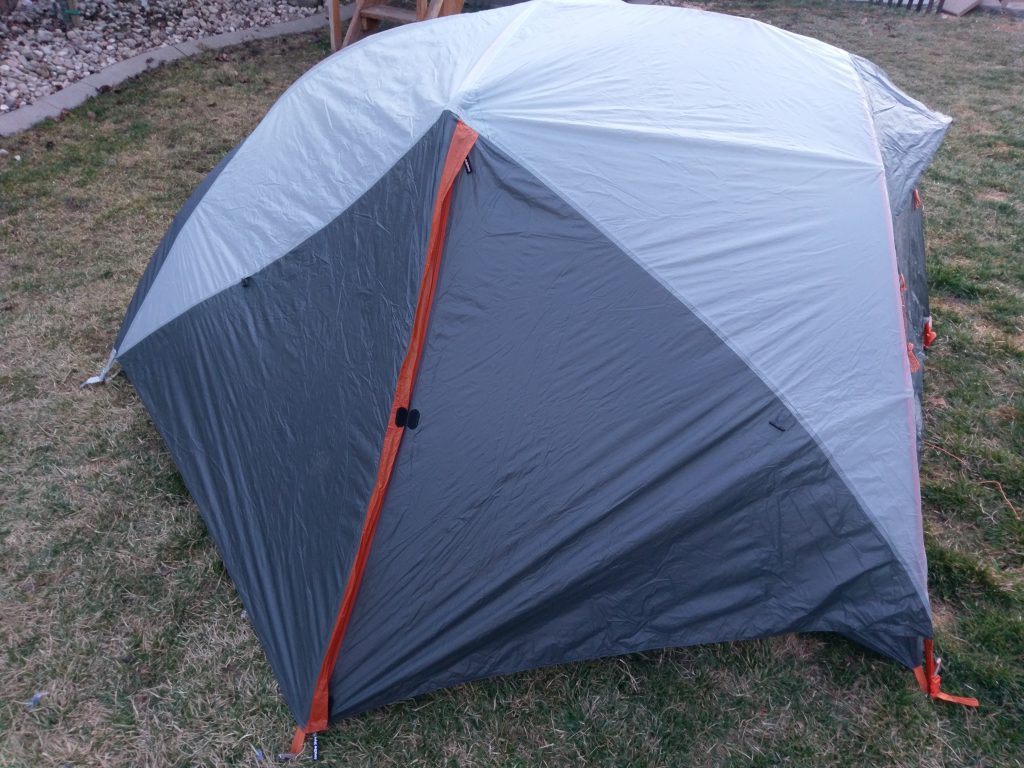
The Copper Spur is a breeze to set up and the doors were big and easy to get in and out of. The cross member poles at the top of the tent keep the side walls from sagging and increase the amount of livable space inside the tent.
Freestanding Tent
The Copper Spur is a true free standing tent. This comes in handy if you are forced to set up camp in a rocky area where getting a stake in the ground may prove difficult. If you frequently find yourself in that situation, the Copper Spur is going to be a great option.
Big Agnes Copper Spur UL2: The Bad
Zippers
The zippers weren’t the smoothest of the tents and often hung up, requiring a second hand to finish zipping the door.
Tension Pulls
One thing that really surprised me about the Copper Spur was that it didn’t feature tension pulls on the vestibules. This made tightening the rain fly more difficult because it required resetting the two fly stakes. Not a big deal, but kind of annoying. This became noticeable when the rain hit and the material began to sag a bit. I couldn’t just go give it a pull and get the fly tight again. It required pulling the stake.
Big Agnes Copper spur Rain Performance
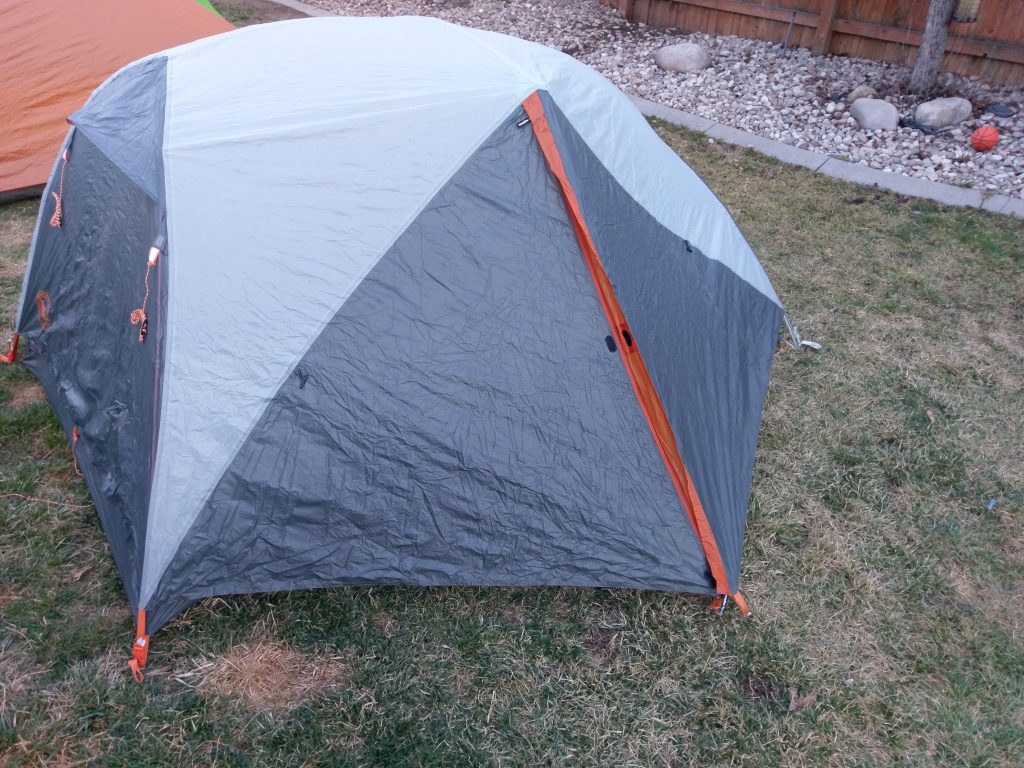
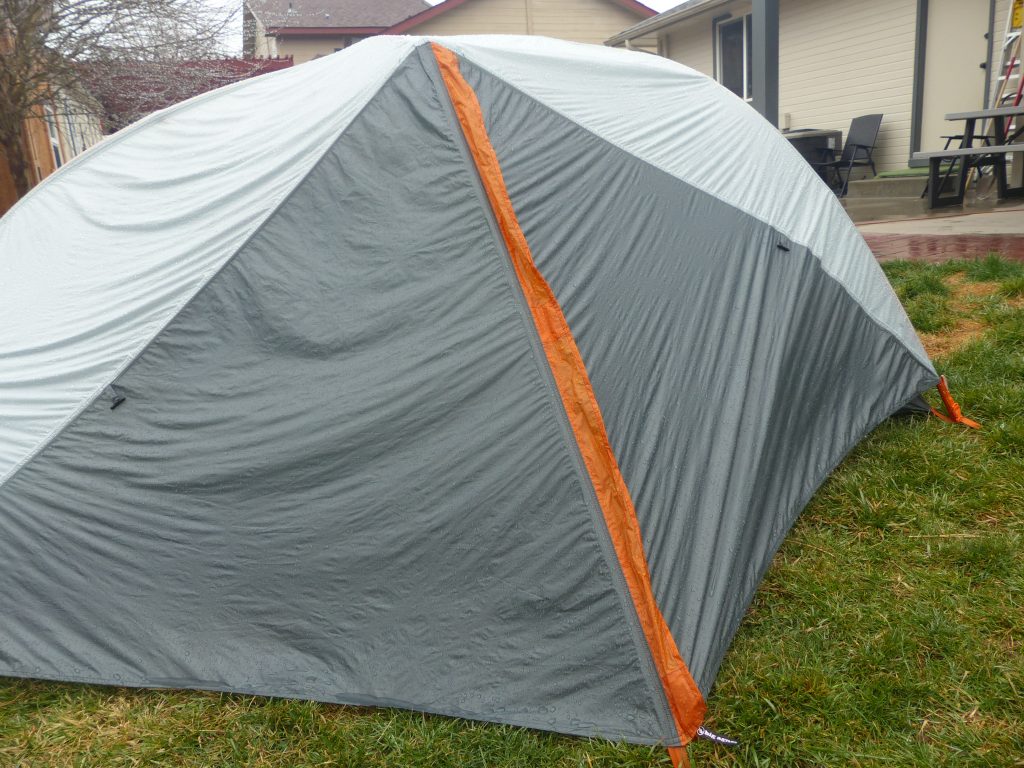
Of all the tents, the Copper Spur was the most affected by the rain. The fly noticeably sagged after 12 hours of rain, but not enough to cause it to touch the interior of the tent. I believe this is a product of the polyurethane coating being on the underside of the fly. This method of waterproofing allows moisture to soak into the material, however, the Copper Spur stayed bone dry.
Hilleberg Anjan 2 Backpacking Tent
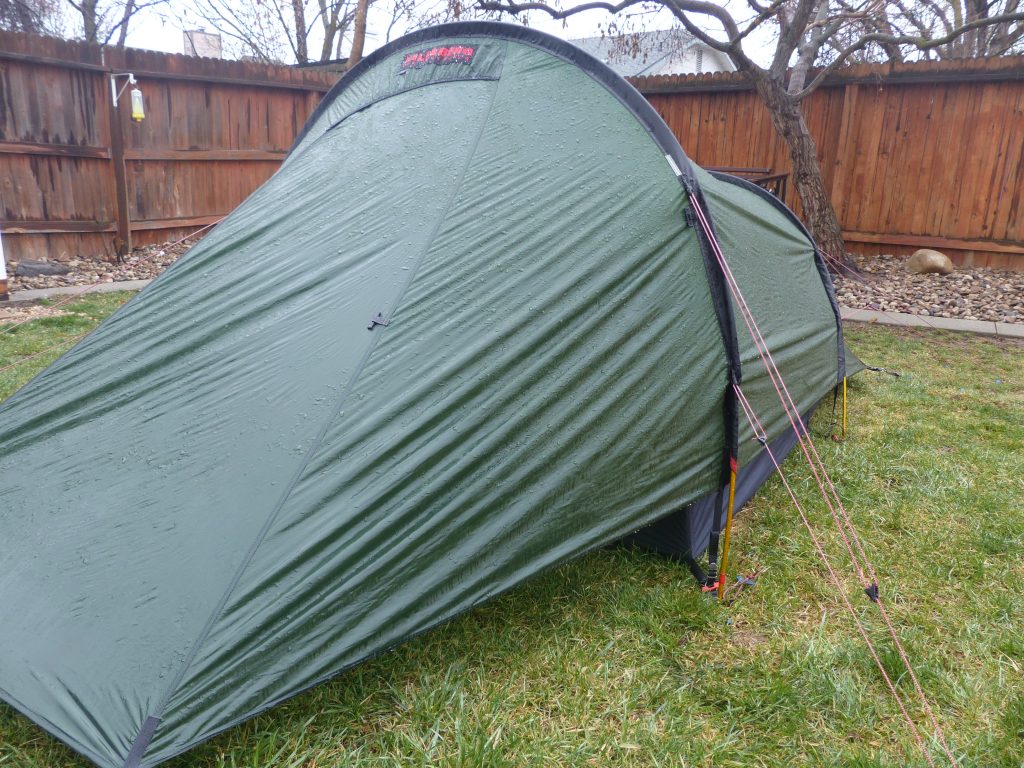
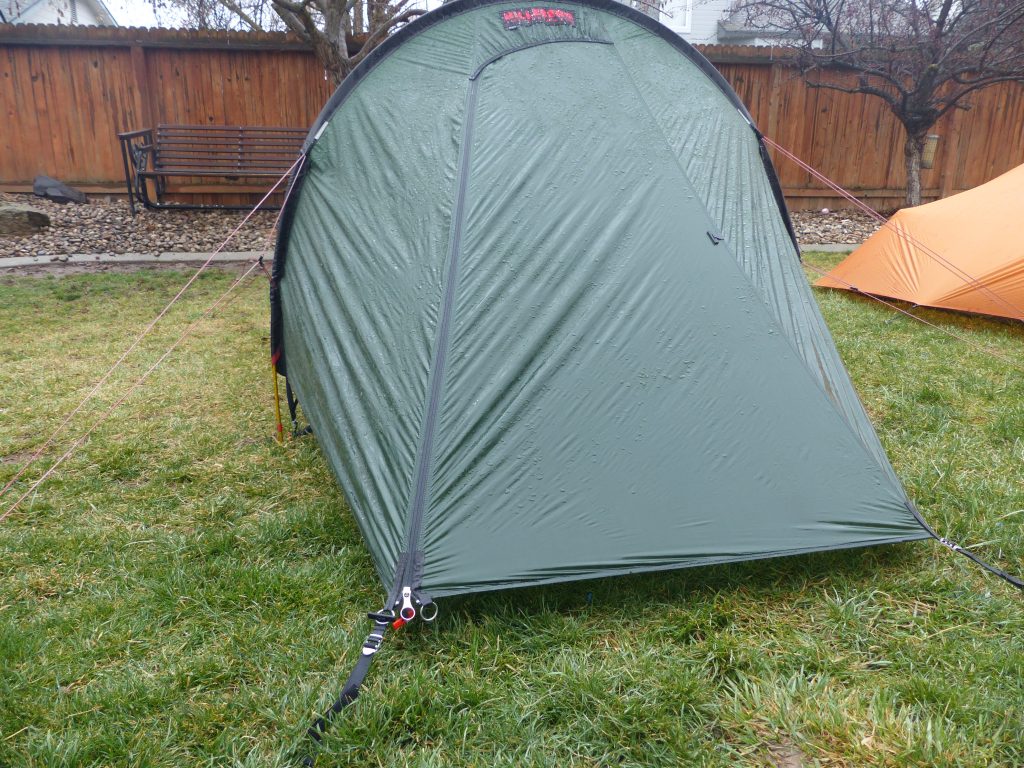
Hilleberg has long been know as one of the best backpacking tents for hunting and the Anjan 2 is no exception to this. You want an ultra-durable backpacking tent that will handle just about anything you throw at it while still being reasonably lightweight? The Hilleberb Anjan 2 is that tent. Hilleberg is long known for building some of the best tents on the market, and this burly tent is what you’d want to have with you when the weather turns and you have a few more days in the backcountry. The classic tube design provides plenty of head room where it matters most. The specs indicate its height is shorter than others, but it feels taller.
While it only has one door and one vestibule, both are large and provide easy access in and out of the tent. The vestibule provides lots of usable space.
Hillebert Anjan 2 Durability
In a word, durable. Pitching this tent for the first time, I instantly noticed that the material and zippers would stand the test of the elements. The guy lines are well placed to provide a good, sturdy shelter that will take a beating. Tension adjustments at each of the corners allow for just the right tension to maximize the interior space.
Waterproof
The Hilleberg Anjan 2 has long been considered on of the best backpacking tents out there and uses a nylon ripstop fabric that is silicon treated on both sides, providing superior waterproof sustainability. The 20D rain fly is coated 3 times on both sides. Hilleberg also gives it a UV resistance treatment. These coatings provide a much more robust 5000mm hydrostatic pressure rating.
Additionally, the 10D inner walls are DWR treated and the 50D floor is double-coated with polyurethane to give it a 12,000mm hydrostatic pressure rating. The Anjan 2 has far and away the most robust moisture protection rating of the shelters in this review. These combined treatments give you the superior protection you need for just about any backcountry adventure.
Another positive to this backpacking tent is that you can set it up in the pouring rain and keep the inside dry. Unlike most double wall tents with a rain fly, this one can be torn down in one piece and pitched again without removing the rain fly. This is huge if you find yourself having to set up camp in a rain storm.
Hilleberg Anjan 2 Weight
This tent’s biggest asset also provides one of its downsides. The durability you get with the Hilleberg means you are packing extra weight. It is also a little more bulky that others when all packed up. This tent may be a bit overkill if you know you will have decent weather.
Hilleberg Anjan 2 Setup
I found the Hilleber Anjan 2 to be a little more difficult than other tents to set up and tear down. Once you set it up a couple times, it becomes second nature. The Anjan 2 is not free standing as you will need to stake out the guy lines to have a shelter that will protect you from the elements.
Hilleberg Anjan 2 Cost
Lastly, the primary downside to this backpacking tent is the cost. It is one of the most expensive tents reviewed here. The price tag might be a deal breaker, but if you can swing it, you won’t be disappointed with the Hilleberg.
Six Moon Designs Lunar Duo Explorer Backpacking Tent
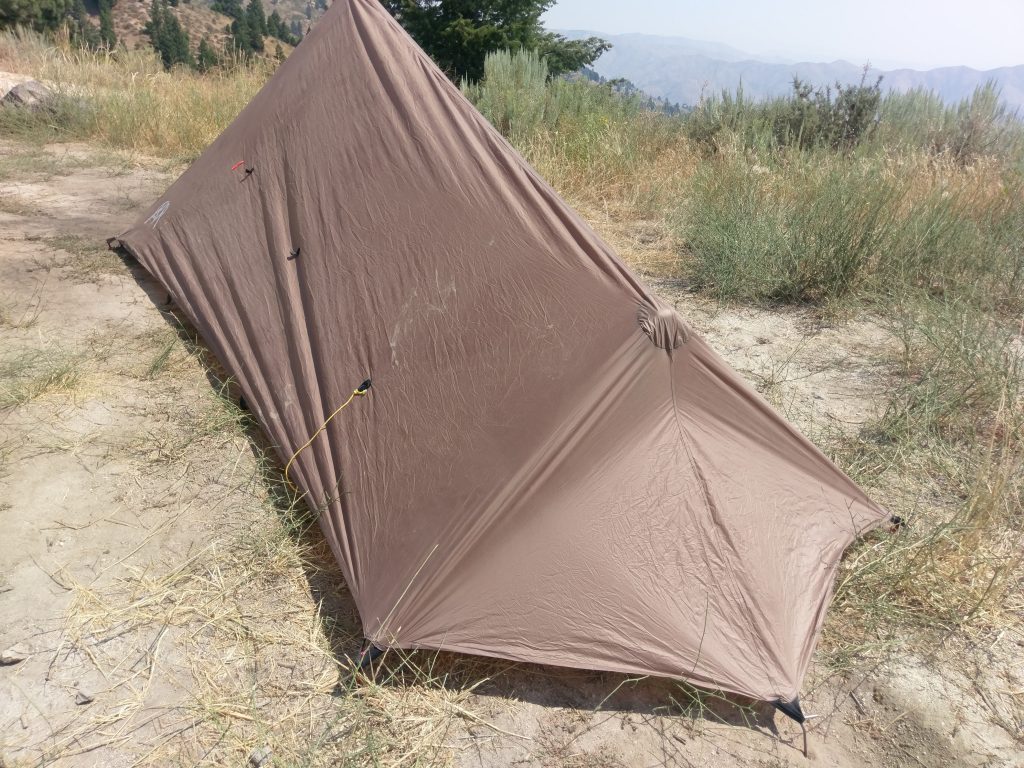
The Six Moon Designs Lunar Duo boasts some impressive specs and features making it one of the best backpacking tents for hunting when you plan to split weight with a buddy or spouse as it easily fits two. With a ton of interior space, large vestibules, and a 45 inch peak height, this thing has appropriately been dubbed the “Backcountry Palace.” Add that it features two doors and two vestibules and you have a fantastic shelter. The Lunar Duo is a non-freestanding, single wall backpacking tent with a mesh interior sidewall.
The base price does not come with poles (an additional $28-$60) or stakes (an additional $13). You will need to purchase both unless you have your own stakes and are a trekking pole user. The different setup options are nice to have, but the price point rises from a base price of $310 up to over $400 if you purchase the stakes, two carbon poles and have it seam-sealed. Even at that price point though, you get a ton for your money.
Ordering Note
The Lunar Duo does not come seam sealed, which is something you would definitely want to do if you anticipate any moisture. This can be done for an additional cost of $24, or you can purchase the seam sealing product and do it yourself.
Six Moon Designs Lunar Duo Basics
Non-Freestanding, Single Wall
The Lunar Duo is not a free-standing design, so you will need stakes to use this shelter. Similar to all the other tents in this review, except the Copper Spur and the Kelty Salada, this can be an issue if you encounter rocky terrain.
The Six Moon Designs Lunar Duo is a single wall backpacking tent, so you are likely to experience some condensation in cold, wet conditions. I did notice some on a cold night, but it was minimal and didn’t present a problem.
Lunar Duo Explorer: The Good
Versatility
This tent is very versatile as it can be pitched with your own trekking poles or poles you can purchase from Six Moon Designs. I used the S&S Archery CL Trekking Poles. (Check out my Trekking Pole Review for more on these). Six Moon Designs offers either aluminum poles (3oz each) for a cost of $14 each, or carbon fiber poles (1.8oz each) for a cost of $30 each. The Lunar Duo requires two poles to set up.
Weight
The most impressive part about the Lunar Duo is that you get all of this in a package that comes in under 3lbs, and right around 2.8lbs with a trekking poles setup.
Interior Room
The Lunar Duo knocks it out of the park with head room. Included with the tent is a pair of crescent shaped poles that you insert into the apex of the shelter. This bolsters the headroom and reduces the pitch angle of the walls. It adds a few ounces, but it is well worth it.
There is plenty of room inside for two wide/long pads and some gear. The head and foot are at a 90 degree angle to the ground, making the interior feel even bigger than the specs suggest.
The Lunar Duo gives you a ton of interior space and a great peak height of 45 inches, two doors, two vestibules and the second most square footage of all the tents in this review. Pictured above is one wide/long pad next to a regular rectangle Sea To Summit Comfort Plus pad (more on that pad in Part 4 of this series). As you can see, there is still room to spare in both length and width.
Lunar Duo Explorer Setup
Another positive to this tent is being able to set it up in the pouring rain and keep the inside dry. Being a single wall tent has its benefits in this way. There is no rain fly to hurriedly throw on to prevent the inside from getting drenched during setup. I actually found myself setting up the Lunar Duo in an absolute downpour. The tent stayed bone dry inside. Me on the other hand, well, I got drenched but at least I had a dry place to retreat. This would not have been the case with other models that require you to attach a rain fly after setting up the main body of the tent.
Lunar Duo Explorer Waterproofing
The Six Moon Designs Lunar Duo uses a ripstop nylon fabric and the canopy is silicon treated on both sides with 100% silicone. This increases water resistance while also increasing the material’s strength. The floor is also silicone treated on both sides, making sure you stay dry from the ground up. The canopy and floor are made of 30D ripstop nylon with a 4000mm hydrostatic tested rating and the inner walls are made of 20D no-see-um mesh.
Lunar Duo Explorer Large Doors
The Lunar Duo gives you two very large “C” shaped doors that make it easy to get in and out of. This feature is a noticeable difference from some of the others in this review. While a small thing, ease of getting in and out of the tent is a luxury on this one.
Lunar Duo Explorer Price Tag
In my opinion, for what you get in the Lunar Duo, this is the best value of the bunch. Considering the weight, space, versatility, and overall build quality, the price point is pretty remarkable.
Six Moon Designs Lunar Duo: The Bad
Setup
Being a non-freestanding shelter, the Lunar Duo is a bit different to set up than the others. You will definitely want to go through the setup process at least once before venturing into the backcountry. The corners of the tent attach to the tent spikes via elastic. This left me wishing I could get the floor tighter, but that didn’t pose a problem. Maybe some tension pulls would be appropriate here? I’d like to see some adjustment ability with this attachment point.
Vestibule Guy Lines
Another small annoyance was that the guy lines have a very steep angle and tended to get in the way of the vestibule zipper. These guy lines are interestingly staked inside the vestibule and tended to get caught up with the vestibule zipper. On the one hand, you didn’t have guy lines everywhere to trip over. On the other, it did get in the way of the vestibule zipper a bit.
Lunar Duo Wind Performance
The side walls tend to move with the wind, so you’ll want to utilize the additional guy-out points on windy nights. If any snow is in the forecast, you would definitely want to stake the extra guy-out points.
Lunar Duo Zippers
The zippers are silky smooth, but I found that the inner zippers require two hands to operate because there is little tension on the floor. The floor itself isn’t staked down, so it relies on the elastic pieces on the corners to hold the floor in place.
Stakes
I found the two longer vestibule stakes more difficult to stake in and pull out due to their extra length. This was easily solved by adding a small piece of rope to grab on to. I ended up using my MSR Mini Groundhog stakes in their place.
Floor
The material and silicone treatment used on the floor was extremely slick, causing my pad to slide around in the tent. Any kind of slope (which is almost inevitable in the backcountry) and you’ll find your pad sliding around. An easy fix to this is to throw in a foam sheet (like the one a new TV comes in) to put under your sleeping pad. This will actually give you an extra layer of protection from the ground and almost eliminate slipping around.
Vestibule Attachment Point
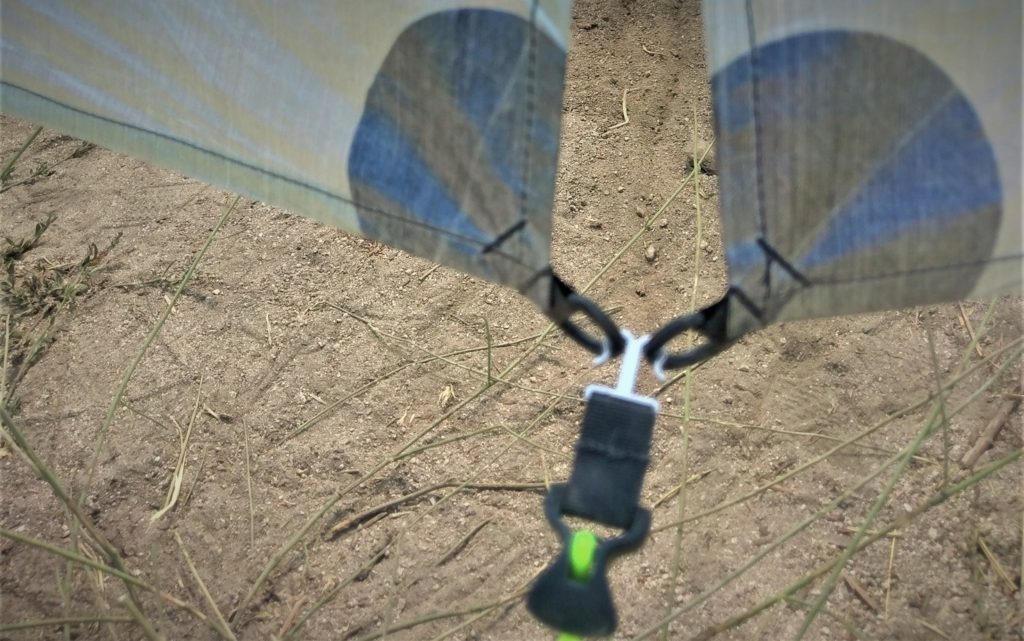
The vestibule attachment point was a bit odd and cumbersome. The rope and clip used to secure the vestibule to the tension rope was a bit difficult to get clipped in, and it seemed to want to slide up the vestibule guy line and reduce the vestibule tension. Not a big deal, but slightly annoying.
ZPacks Duplex Backpacking Tent
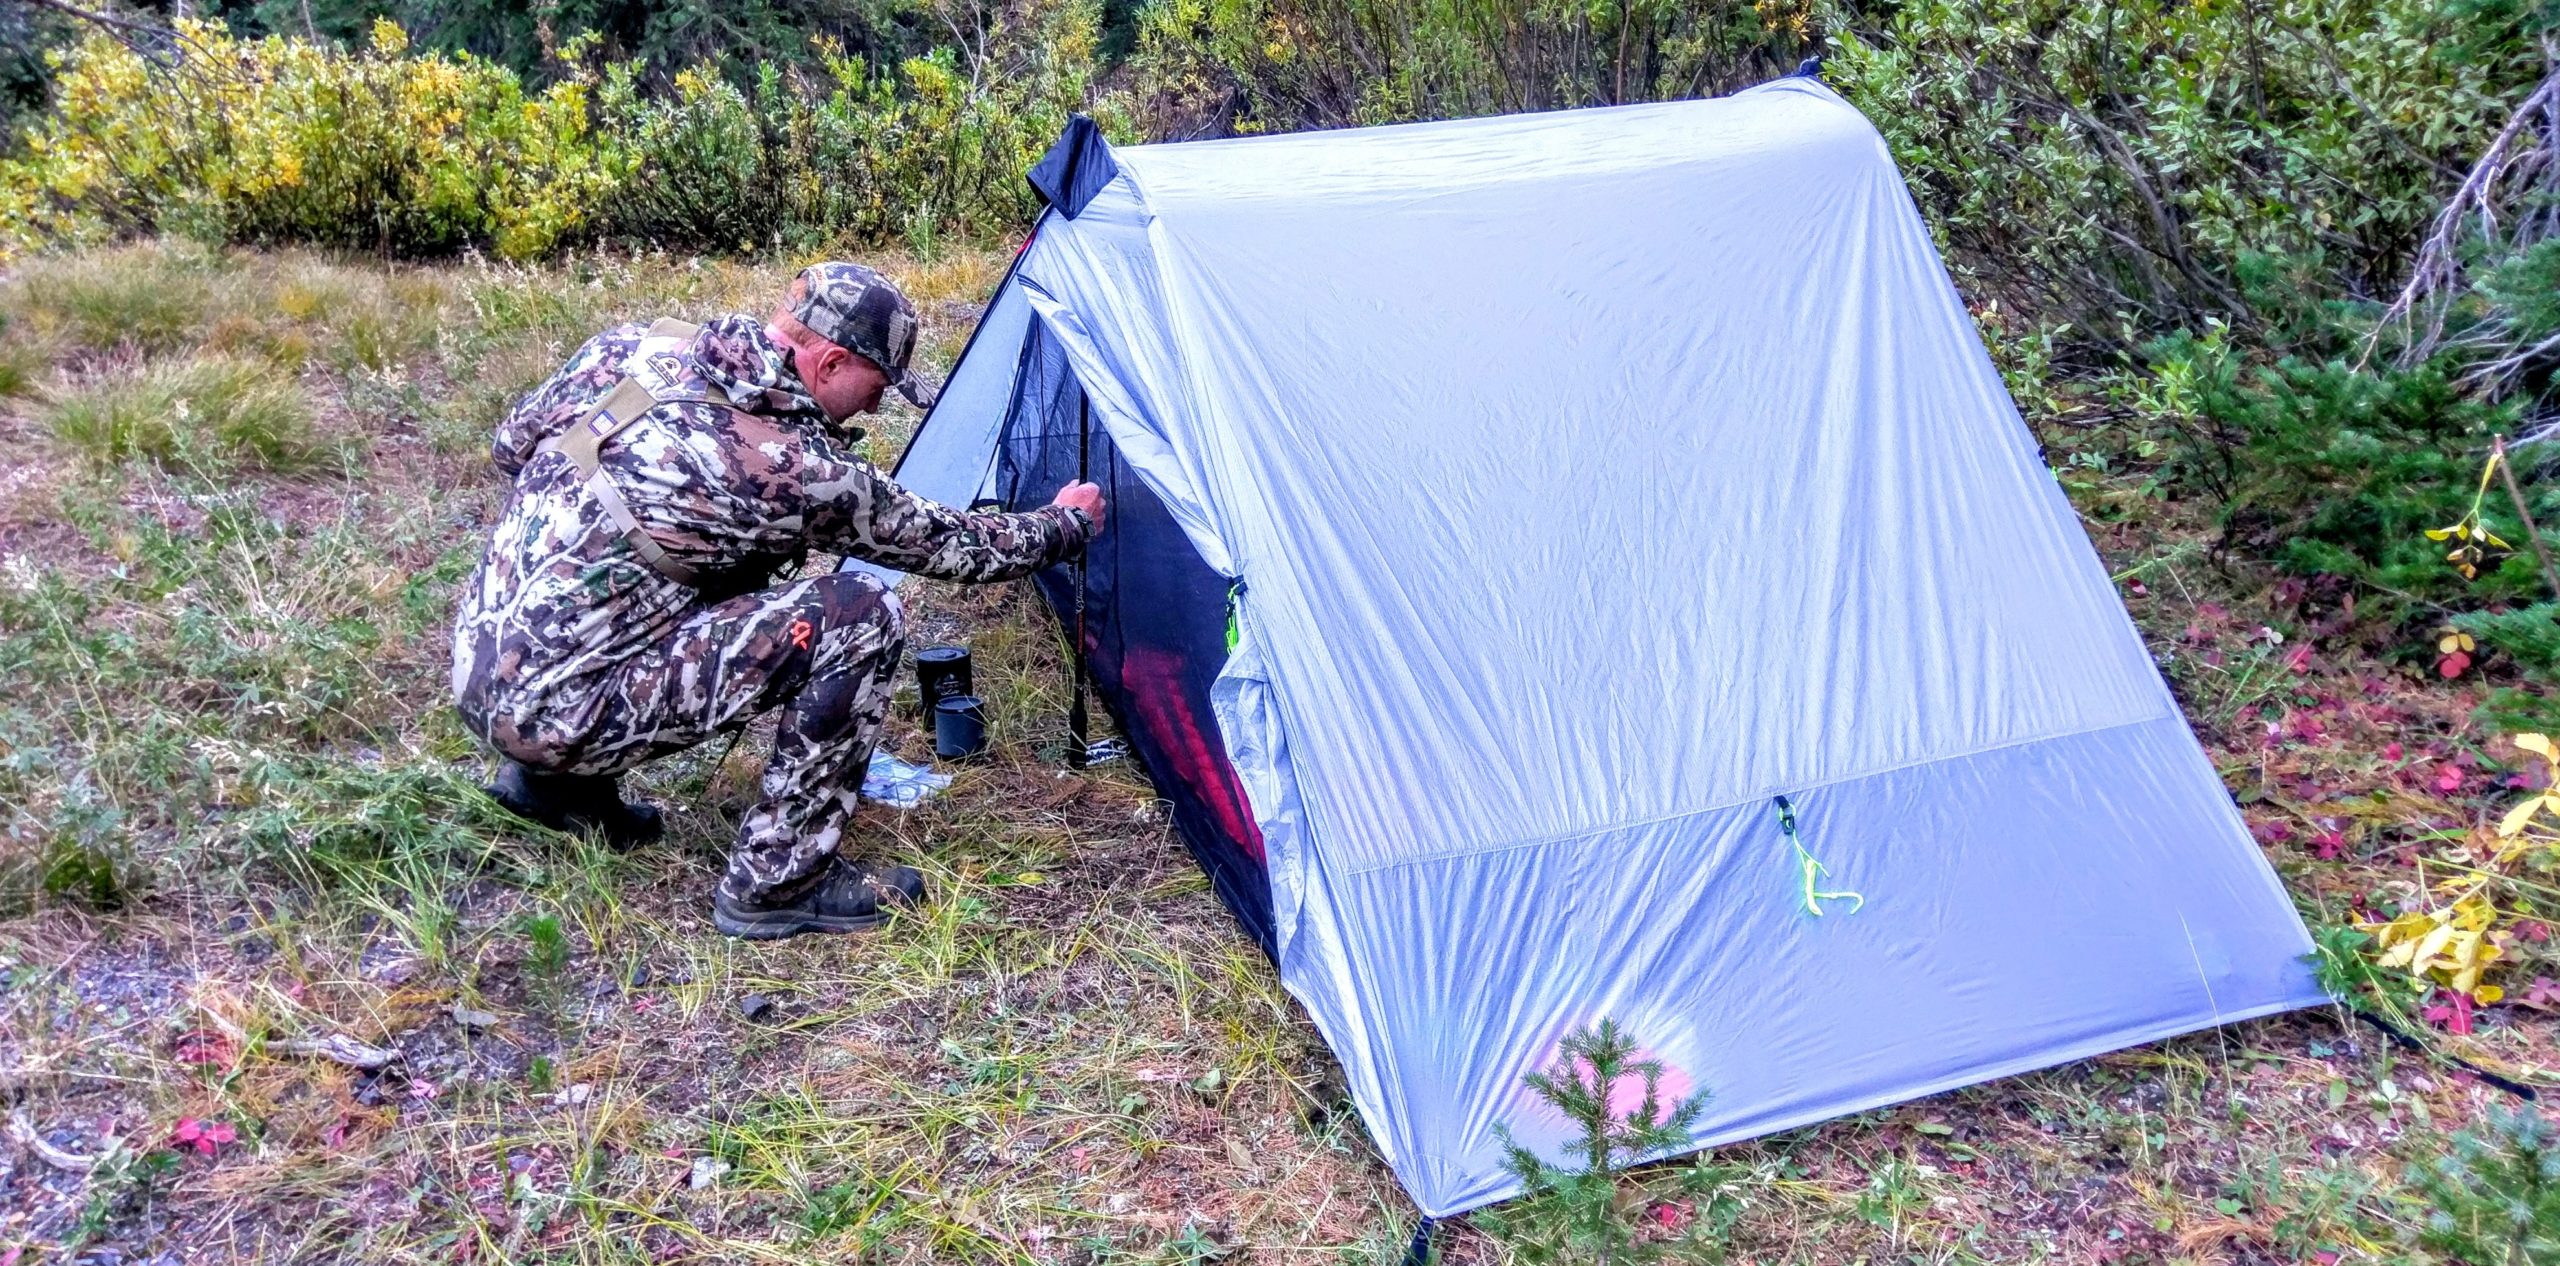
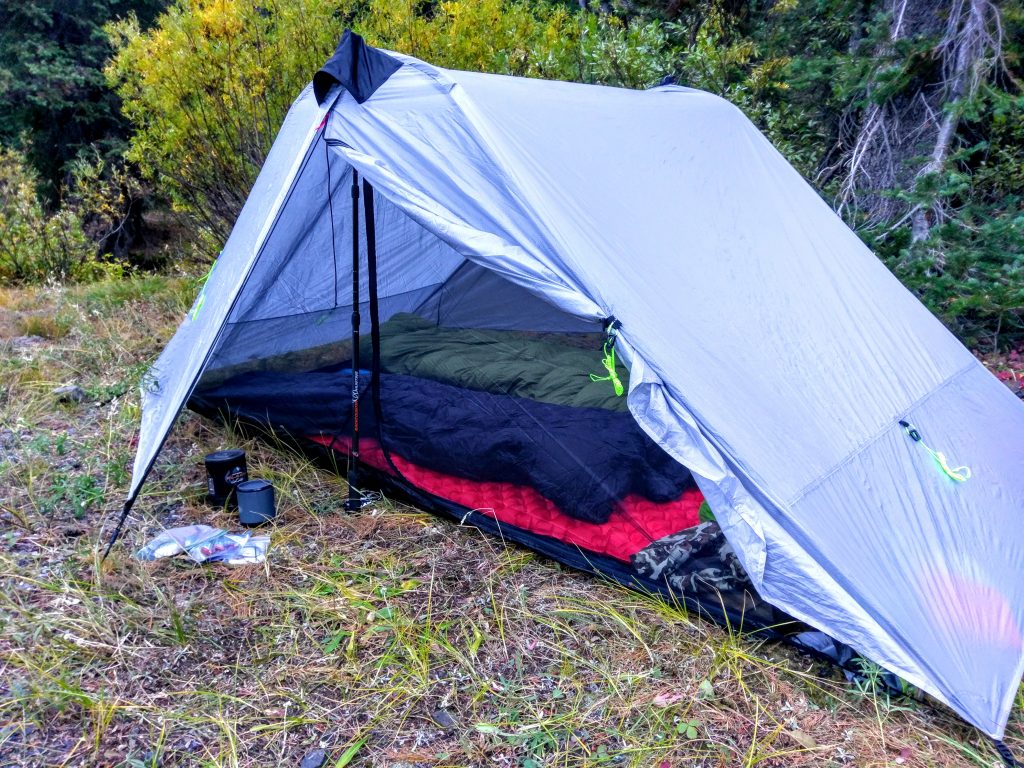
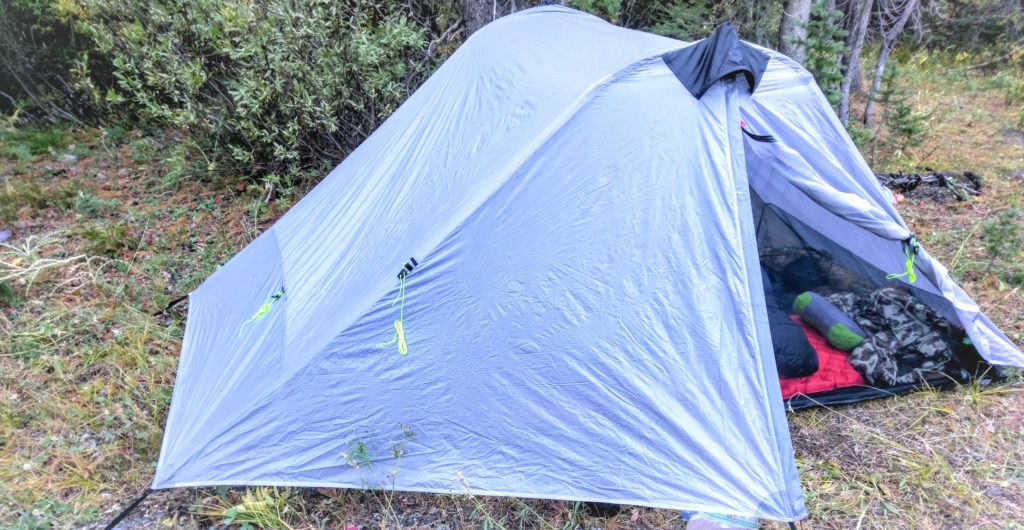
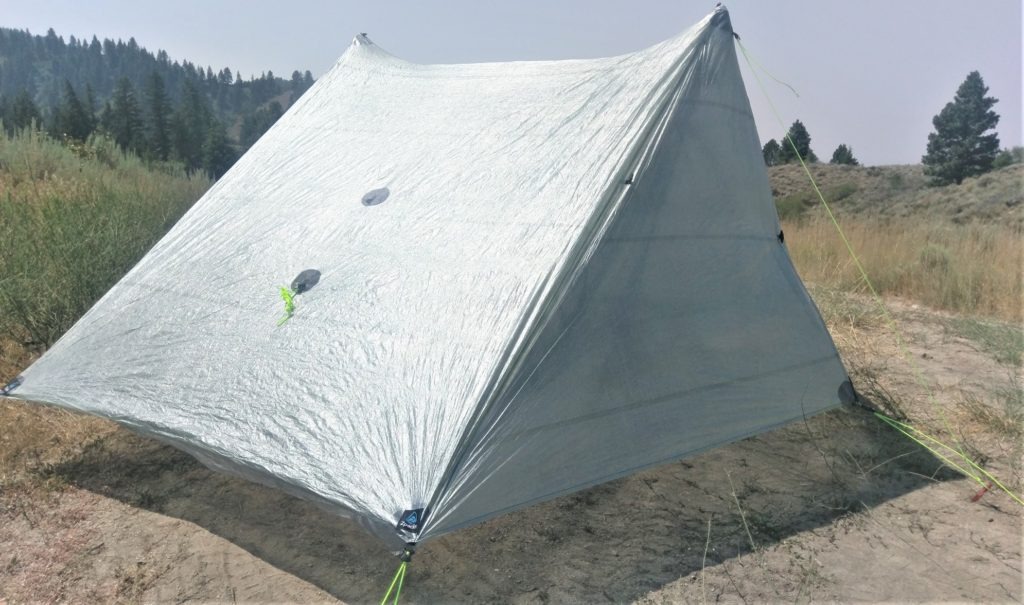
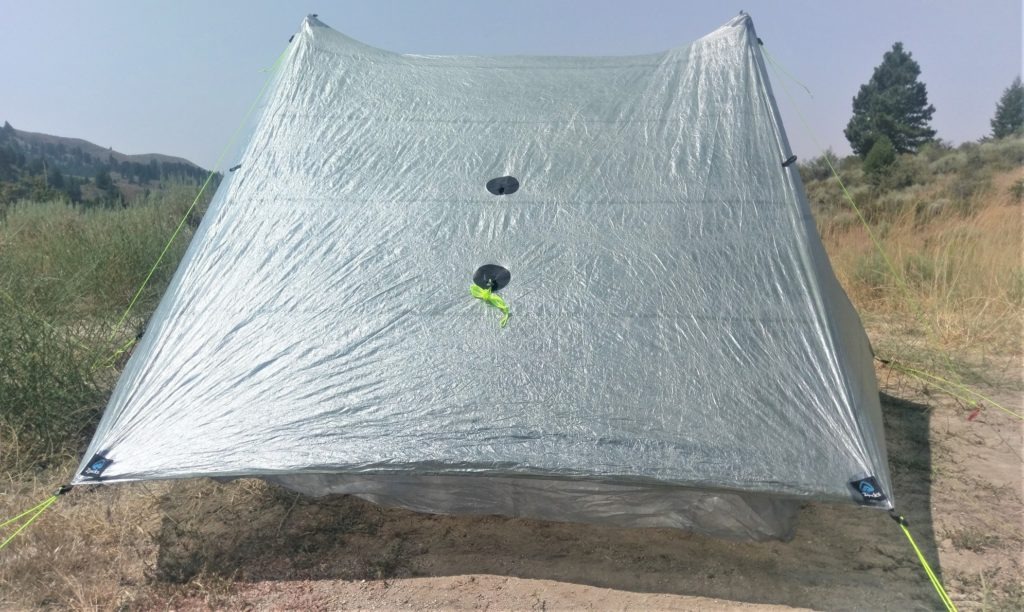
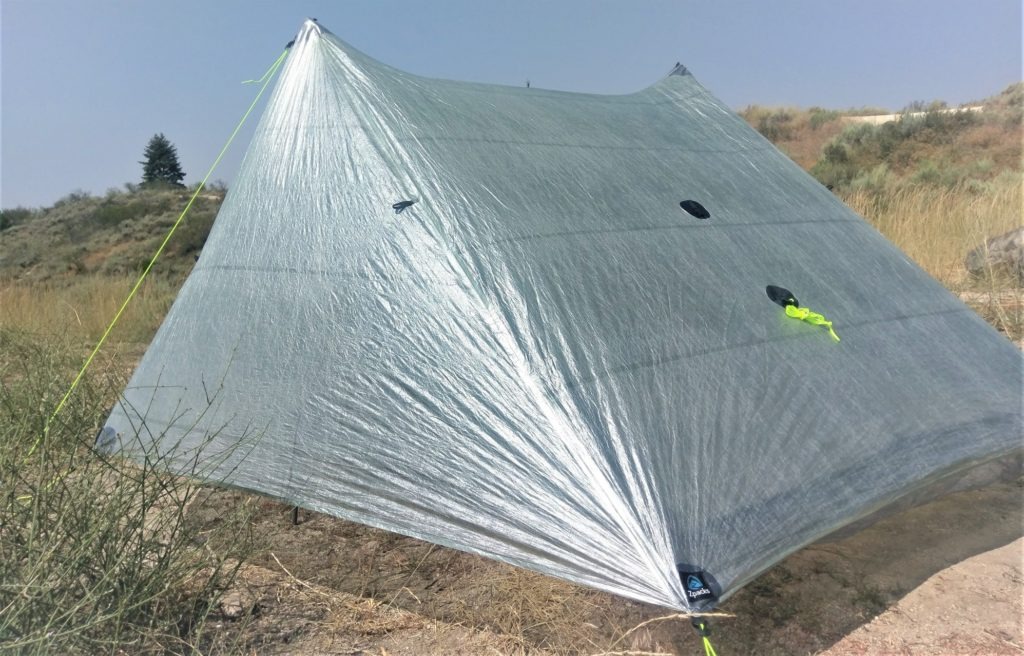
I came across the Zpacks Duplex tent in my search for that perfect combination of lightweight, functional, and durable backpacking tent. Coming in at a paltry 19oz (without poles or stakes), this is the lightest tent in this review by a long shot. I was amazed at just how light this shelter was and how small it packed down.
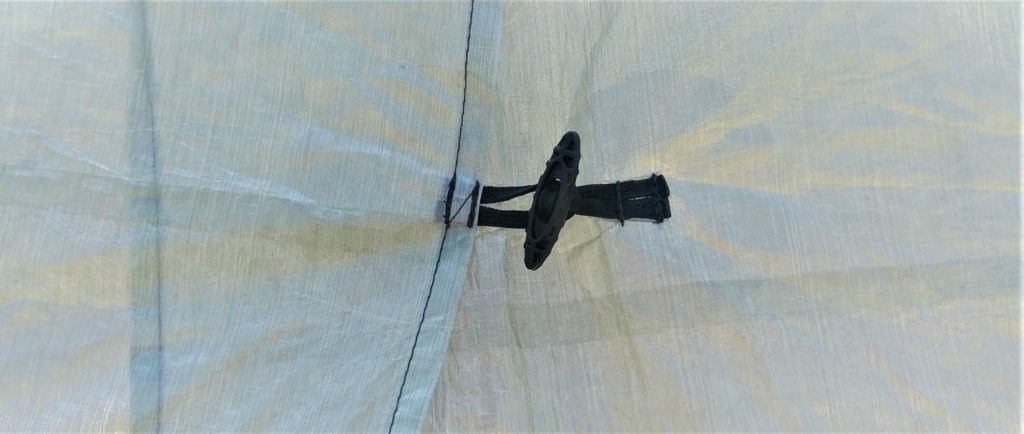
Dyneema, the material ZPacks uses for the Duplex, is very thin but seems to be extremely durable. Being the only shelter in this review using this material, I did notice a very different feel to it. It didn’t have that slick feeling to it that silnylon has.
If weight is one of your biggest concerns, this is by far the best option I tested. Durable, good usable space (but on the smaller side), easy to set up, and ultra lightweight, this thing is a gem.
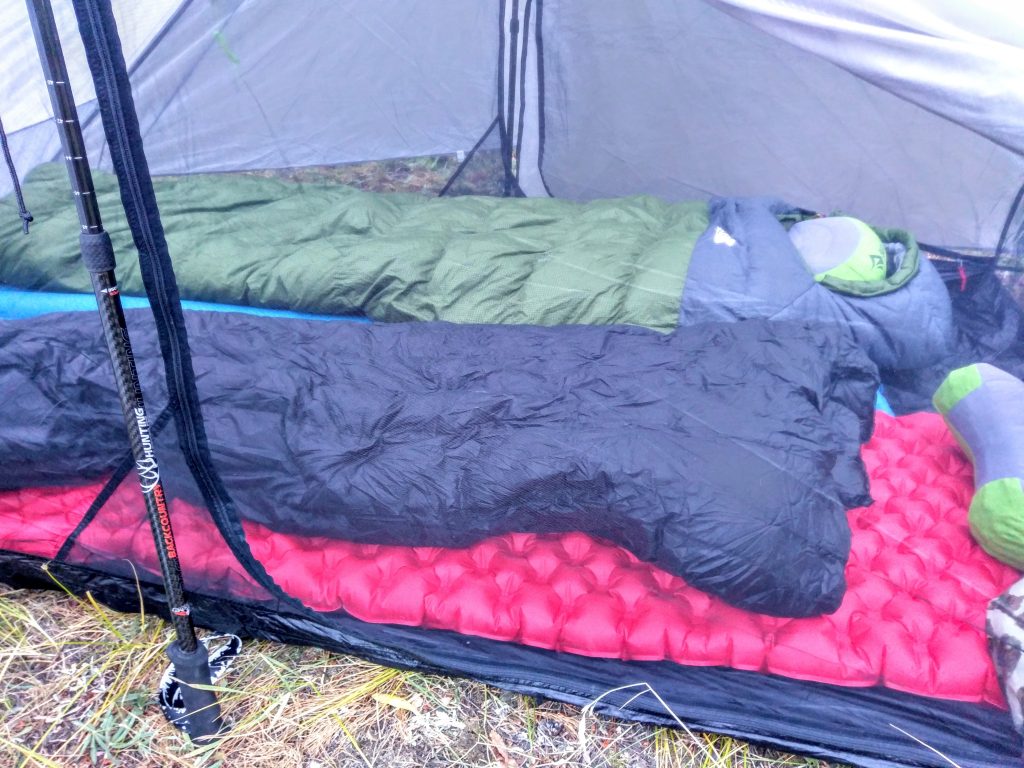
The basic design of the Zpacks Duplex and Lunar Duo is nearly identical, except that the Duplex is significantly smaller both in vestibule space and interior space. The trade off, of course, is that the Duplex is significantly lighter-by over a pound and a half!
Zpacks Duplex Basics
Non-Freestanding, Single Wall
Similar to Lunar Duo, the Zpacks Duplex is not a free-standing backpacking tent. It must be staked out to be usable.
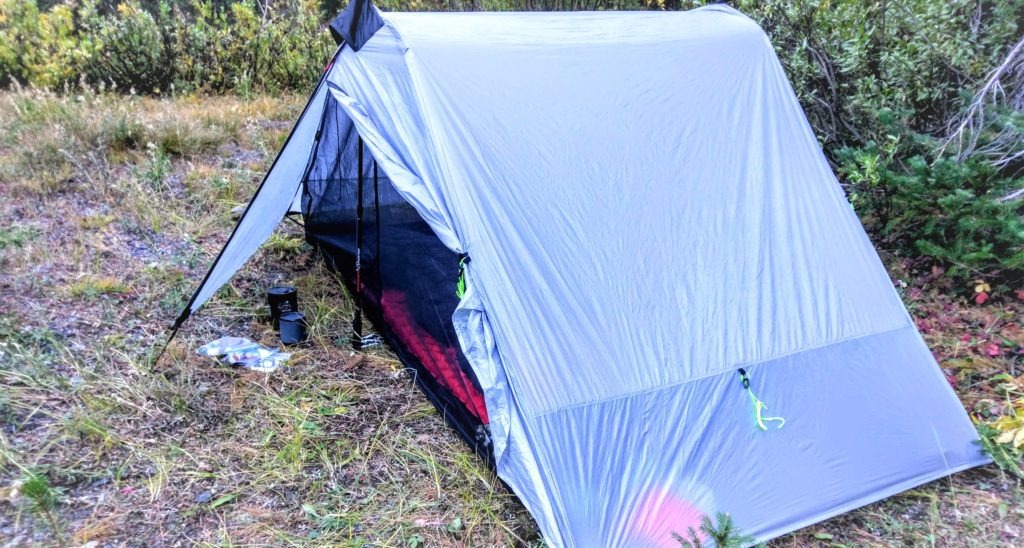
Being a single wall tent, condensation is always a concern, but can be managed easily by allowing a draft to come in through the door. The non-zippered doors actually help allow a draft in to keep the condensation to a minimum. It is recommended to sleep with one door rolled back in the open position to allow good ventilation (assuming weather allows).
Zpacks Duplex: The Good
Zpacks Duplex Tent Setup
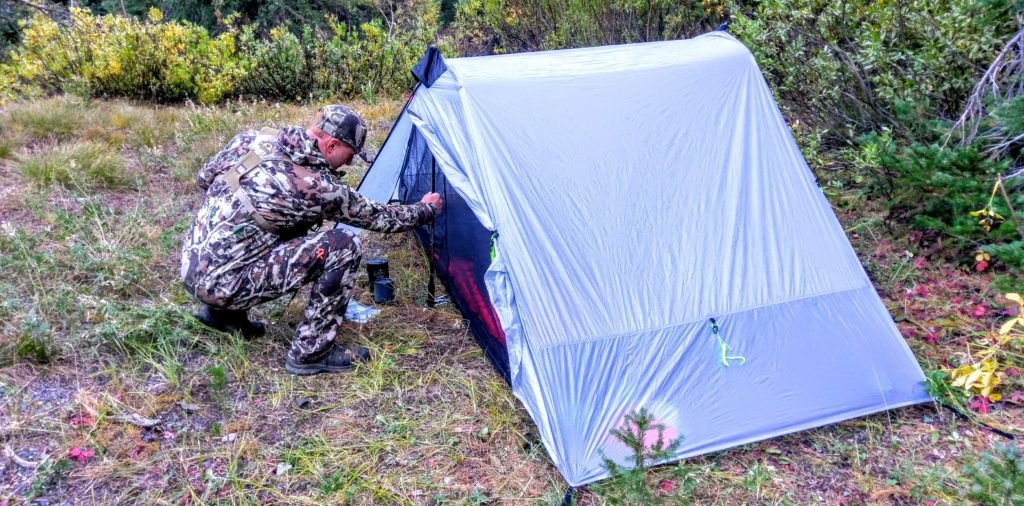
I loved how easy the tent went up. It was very simple and setting it up solo wasn’t a problem. You have the option of using either your trekking poles, or purchasing the flex pole kit for an additional $125, making this a free standing shelter. Dyneema is naturally waterproof, so there is no sealant to worry about wearing off over time.
Zpacks Duplex Tent Weight
For a two door, two vestibule shelter the weight was especially impressive. All seams come sealed, which is nice not to have to mess with. The durability provided by the Dyneema was evident as it seemed less fragile than ripstop nylon, even though it was thinner.
Zpacks Duplex Tent Zipperless Design
I didn’t know if I’d like the no-zipper setup of the vestibule doors, but the design really is ingenious. Clips securely hold the doors in place, and you have the added option of securing the mid-section of the door with an elastic tie down. The only problem with the setup comes when the wind blows into the overlaying flap, which can cause some additional draft and/or noise. You’d want to be cognizant of this feature and set the tent up with that flap upwind to minimize any extra draft or noise.
Zpacks Duplex Material
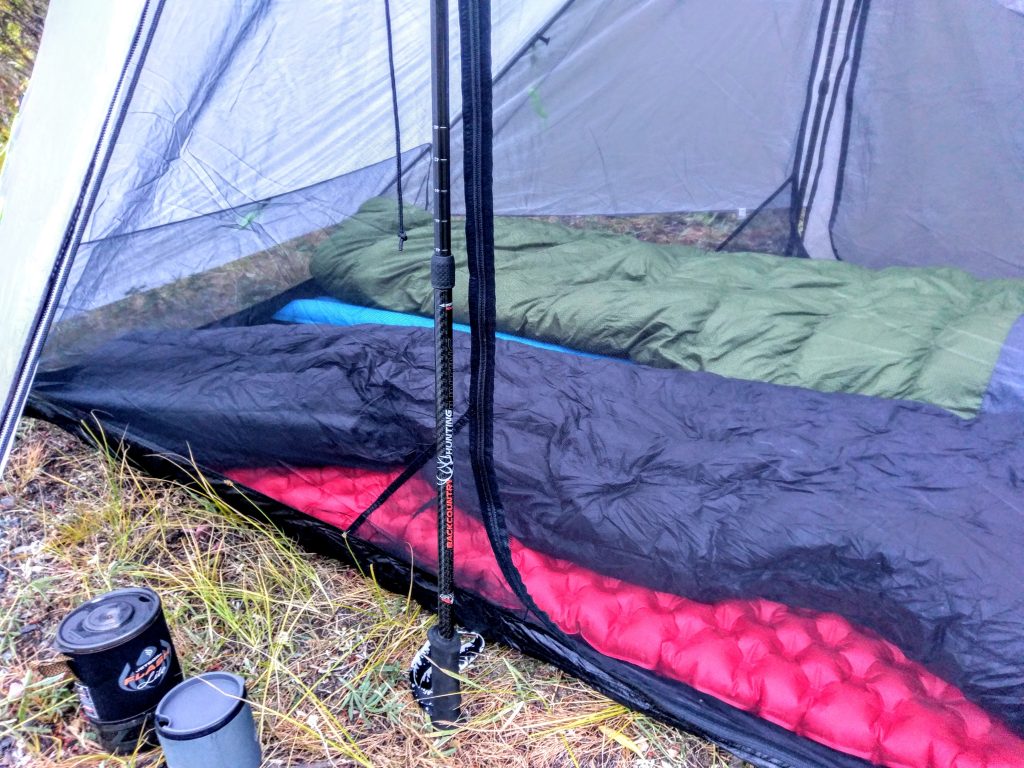
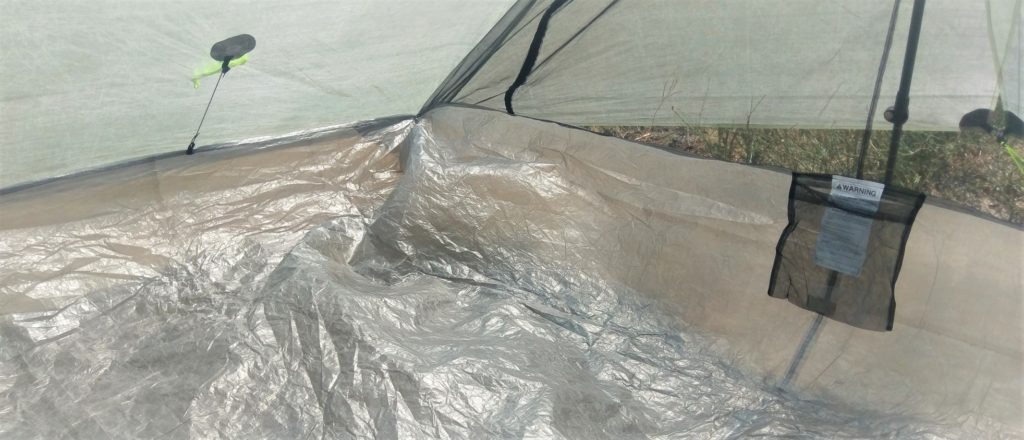
The Dynema fabric made for an awesome non-slip floor as well. I found myself sleeping on an incline, but the material almost grabbed my pad and really reduced the pad slippage. This was a welcomed surprise.
Zpacks Duplex Tent Massive Doors
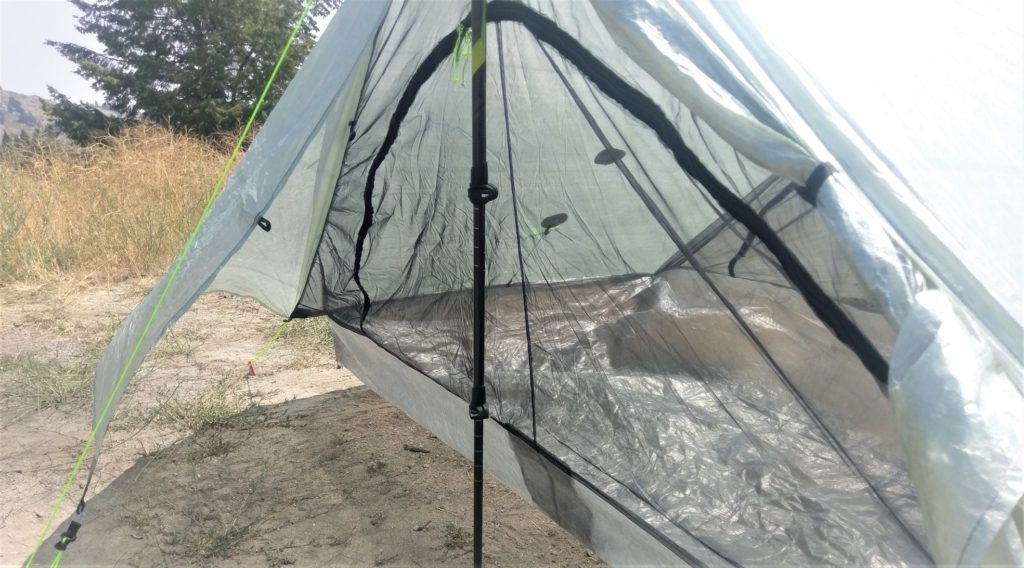
The Zpacks Duplex gives you two massive doors that zip/unzip the entire mesh side of the shelter. Combined with the bathtub floor, it’s incredible that this shelter comes in at only 19 ounces. Getting in and out of this tent is a breeze. The full size zippers also give you easy access to the entire vestibule. I loved this feature.
Zpacks Duplex: The Bad
Zpacks Duplex Interior width
I found the interior space of the Zpacks Duplex tent to be a bit cramped for two people, but only in the width. The interior space of the Duplex is actually identical to the Nemo Hornet, but due to the design, it feels much bigger. The main issue is the width. Similar to the Hornet, you would be touching shoulders with your tent buddy in this shelter. By contrast, the Lunar Duo is a whopping nine inches wider. You simply wouldn’t be able to fit two wide/long pads in the Duplex very well.
Privacy
If you like your privacy in a shelter, something else to consider is that this tent is somewhat see through. You can make out a silhouette due to the super thin material.
Zpacks Duplex Price Tag
The biggest downside I could find to the Zpacks Duplex is the price tag. Coming in at $599 for just the tent, the price could be a deterring factor for some. Add a pole set and stakes and it’s a chunk of change. As we all know, you are going to pay extra for the combination of ultralight, durable, functional, and super high quality. This ultralight backpacking tent encompasses all of those things amazingly well.
VIAM Outdoors CC Divide Backpacking Tent
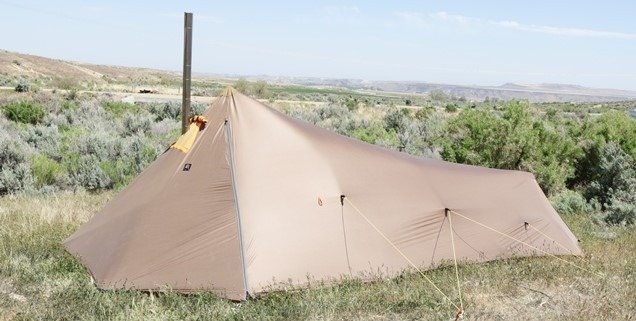
The VIAM Outdoors CC Divide is a very different shelter than the rest in this review. I decided to include it because it falls within the parameters and offers a lot more options than the rest. It can be ordered in two different material weights, as well as with or without a floor. Additionally, the CC Divide is made to use a wood stove inside the shelter for those late season trips. This is an absolute game changer!
Shelters by VIAM Outdoors are typically made to order, which allows you to customize your preferences. It does, however, take a little more time to receive because it’s custom built. If you are someone who prefers the floorless style shelters, the CC Divide can be made that way as well. The floorless model in the 1.1 SilPoly comes in at only 27oz and fits in a medium size G3 (Glacier Gear Grab) offered by VIAM Outdoors. If you choose the 3/4 floor option, the weight comes in at 3lbs 11oz. Given the size of this shelter, that’s impressive!
VIAM Outdoors CC Divide Basics
Non-Freestanding, Single Wall
As with the Zpacks Duplex and the Lunar Duo backpacking tents, this is not a free-standing design. It must be staked out to be usable, and setup is done with two trekking poles or the pole set offered by VIAM Outdoors.
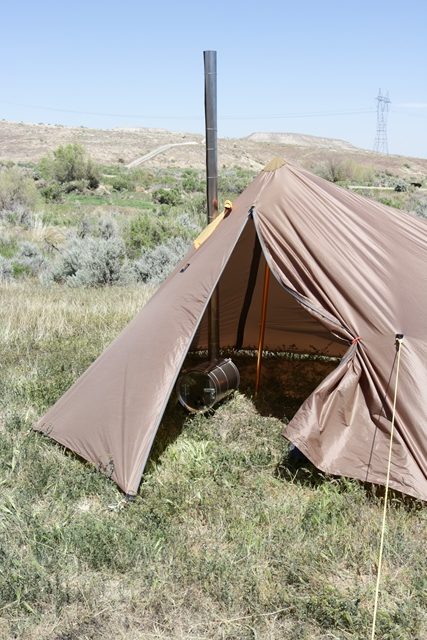
Similar to the other two single wall tents, condensation is always a concern, so you may need to allow for some ventilation to prevent too much buildup. The 12 square foot vestibule for this shelter is uniquely located inside the shelter and has two zippered doors.
VIAM Outdoors CC Divide: The Good
CC Divide Versatility
The CC Divide is and extremely versatile backpacking tent. It can be ordered with your choice of two different fabrics. The 1.1oz SilPoly gives you an ultra-light shelter while the 1.9oz SilPoly offers more durability. The CC Divide can be ordered with or without a floor and has the option to add a wood stove! You can customize this shelter to fit your needs, all the while getting a ton of interior room. The vestibule being inside the shelter allows you to either use it as a standard gear storage area, or additional sleeping quarters (when not running the wood stove). This feature puts the versatility of the CC Divide on full display.
CC Divide Size
The CC Divide is the tallest, by a large margin, of all the shelters I was able to review with a height of 5 feet at the tallest point, tapering down to 2 feet at the foot of the shelter. The interior is massive so if you want all of your gear and a wood stove inside, or you just enjoy the extra space, this tent is perfect!
CC Divide Weight
This massive shelter comes in at just 3lbs 11oz with the 3/4 floor and stove jack options (in the 1.1oz SilPoly). Without the floor, the weight drops down to just 27oz. When considering the CC Divide, keep in mind that with the size of this shelter, you are likely to be with a buddy. This already lightweight shelter gets even lighter when you share the weight with a buddy.
CC Divide Shape
The shape of the CC Divide is unlike any other backpacking tents in this review. It is much wider at the head of the tent and tapers down both in width and height at the foot. The CC Divide is 12 feet long, 6 feet wide (at the widest point) and tapers down to 3 feet at the foot of the shelter). Entrance to the shelter is done through either of the two zippered doors. Both doors give you access to the vestibule space located at the head of the shelter.
CC Divide Stove Option
One of the incredible options the CC Divide gives you is the ability to run an ultralight wood stove. While this likely won’t be a factor for your early season trips, once October rolls around, the wood stove is an absolute game changer. the stove sits in the vestibule area of the shelter and provides you with that much welcomed warmth on cold winter nights.
cC Divdie Clothes Line
The CC Divide has a built in clothes line inside the shelter. Pair that with the wood stove, and you can dry your gear after a long day in the rain. This could be the difference in going home early or being able to stay out for the rest of your trip.
VIAM Outdoors CC Divide: The Bad
Number of Stakes
One of the downsides to having such a large shelter is that it requires 12 stakes to fully set it up. You could get by with 10, but to get the full benefit of the shelter, you’d want to fully stake it out.
CC Divide Setup
The setup on this shelter is a bit awkward at first and definitely one you would want to practice setting up before heading into the backcountry. Having a second person to help makes it much easier, but it can be done solo. In reality though, you likely wouldn’t be taking a shelter this large if you were going solo, unless you wanted to run the wood stove during late season.
CC Divide Footprint
Another downfall to having such a large backpacking tent is the large footprint. Finding a flat space this large could prove to be a challenge, depending on the terrain.
Note: I was unable to test the CC Divide in rain as the weather didn’t cooperate.
Kelty Salada Backpacking Tent
Kelty Salida:The Basics
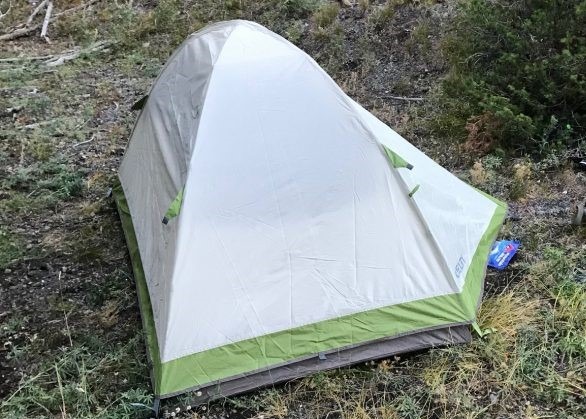
The Kelty Salada is an entry level floored tent that gives you a lot for the price point. Weighing in at only 3lbs 14oz, it’s the heaviest of the shelters in this review, but also the least expensive by a long shot. If budget is of concern, this is a fantastic option that gives you a good amount of interior space and a freestanding design. It is also a double wall tent, so you avoid potential condensation issues.
As with most two man floored shelters, interior space was tight for two adults, but manageable. The floor tapers from 55 inches to 45 inches from the head to the foot. The peak interior height is a comfortable 43 inches.
Note: I did not personally have the opportunity to test out this tent. Two separate buddies used this tent on separate occasions over the last two years and provided me the following feedback.
Kelty Salida: The Good
Freestanding
The Kelty Salada is a true freestanding shelter with a bathtub style floor. All the benefits of a freestanding shelter apply here. Great for rocky terrain and ease of setup.
Kelty Salida Setup
Setup on the Kelty Salada was easily done with one person and is very self- explanatory, a strength of the Salada.
Length
The Salada is a generous 88 inches in length. If you are over 6ft 3in, you might find your sleeping bag touching at the foot, which caused one of my buddy’s sleeping bags to get a little damp from condensation.
Durability
The Kelty Salada tent uses a hefty 68D polyester fabric for the rain fly, floor, and canopy. Compare that to the 15D fabric the Hornet uses and you can see where a lot of the weight difference comes from. Because of the heavier fabric the Salada should continue to hold up well.
Kelty Salida: The Bad
1 Door, 1 Vestibule
With only one door and one average size vestibule, you may find yourself wishing for a bit more here. On the other hand, cutting those out saves weight. This is one of the reasons the Salada is able to come in at the weight it does, so it’s a double-edge sword.
Kelty Salida Weight
The Salada is the heaviest of the tents in this review. With a minimum weight of 3lbs 14oz, it just squeezes in under that 4lb max weight I was shooting for. The “packaged weight” pushes it up to 4lbs 9oz though. Unlike some tents, the “minimum weight” actually does make a usable shelter. “Minimum weight” excludes the stakes, extra guy lines, packaging, and stuff sacks.
Check out the Kelty SaladaBest Backpacking Tents for Hunting: The specs:
| Tent | Min Weight (oz/lbs) | Interior Sq Ft | Vestibule Sq. Ft | Doors/ Vestibules | Base Price |
|---|---|---|---|---|---|
| Copper Spur HV UL2 | 44oz/ 2.8lbs | 29 | 18 | 2/2 | 449.95 |
| Hilleberg Anjan 2 | 53oz/ 3.3lbs | 30.1 | 13 | 1/1 | 690.00 |
| Nemo Hornet 2P | 32oz/ 2.0lbs | 28 | 16 | 2/2 | 369.95 |
| Lunar Duo Explorer | *45oz/ 2.8lbs | 34 | 24 | 2/2 | 310.00 |
| ZPacks Duplex | *19oz/ 1.3lbs | 28 | Unknown | 2/2 | 599.00 |
| VIAM Outdoors CC Divide | *59oz/ 3.7lbs | 32 | 12 | 2/1 | 550.00 |
| Kelty Salada | 62oz/ 3lbs 14oz | 30.5 | 10 | 1/1 | 134.95 |
*No poles or stakes in the weight. You have to purchase separately and I only had the shelter for this review. I used my own trekking poles and stakes. Total weight will vary based on what trekking poles and stakes you use, or if you use the “flex pole” kit from ZPacks.
Best Backpacking Tents for Hunting: Conclusion
So, what will I be taking into the field this year? Each of the above backpacking tents present fantastic options for the backcountry enthusiast, but some definitly stood out.
Here are my winners for the Best Backpacking Tents for Hunting in each category:
Best Overall Value: Six Moon Designs Lunar Duo Explorer
Best Ultralight Option: Zpack Duplex
Most Durable: Hilleberg Anjan 2
Best In Cold Weather/Most Customizable: VIAM Outdoors CC Divide
Best on a budget: Kelty Salada
Lightest Double Wall: Nemo Hornet
Best Freestanding: Big Agnes Copper Spur
Stay tuned for PART 3 of this series where we discuss the basics of selecting a backcountry sleep system.
Subscribe to Backwoods Pursuit to get Your FREE Backcountry Gear Worksheet!!!
Dial in your gear list, calculate your pack weight, and lighten up your pack with this handy tool!












Outstanding! Lots of work went in to this one.. great resource
Thank you Rob! Indeed….this was huge project! Thanks for the feedback!
Just curious as to why the MSR Hubba Hubba?
Cody, we tried to include as many shelters as possible but had to make some tough calls on which ones to include. There are many that I wish we could have included, the Hubba Hubba being one of them.
Great reviews. Thank you for the resource. Have you ever looked into any of the Tarp Tent shelters? I’ve been looking at the Protrail or Rainbow 1 person shelters, but haven’t seen much feedback from the hunting community.
Thank you for the feedback Lucas! We have looked at the Tarptent shelters and hope to do a review on them soon. Keep an eye out and we’ll see what we can do! Appreciate it!
brilliant posts and information 🙂
thanks alot
The coleman hooligan 2 is decent. Was my first backpacking tent. Big enough for gear 2 people and a dog. Not light though but you can split up the weight. Also it’s $70 so you’re not breaking the bank.
Thanks for the info! Yeah, it typically seems that to get light weight, you are going to pay a lot more.