What prompted this Swagger bipod review? Why did we review the Swagger SFR10 and the Swagger SEA12 Extreme Angle Bipod? A recent experience was the driving force to begin testing bipods. We’ve all been there where events in the field drive us to make a gear change. That’s exactly what happened here.
The frustration had fully set in, and I wanted to toss my rifle across the mountain. I was less than 24 hours
into my 2021 Idaho mule deer hunt, and I had FIVE empty shell casings in my pocket after missing three
different bucks. Toss in the fact that two of the three bucks I missed were mature animals that I would
have been stoked to put my tag on. It was salt on an open wound, and my confidence was shaken.
After missing the first two shots, I chalked it up to a flinch or simply pulling the shots, although I wasn’t sure what happened. After the 3rd and 4th misses, I felt like something wasn’t right, but didn’t take the time to go shoot my rifle since the shots were a bit hurried and again, I figured I had pulled the shots. Rookie mistake. After the 5th missed shot at a dandy buck, I was ready to put my rifle away.
Upon further inspection of my scope, I found a small dent in the housing. I don’t recall falling or bumping it, but it was obviously significant enough to change my point of impact since I had last shot my .300 Weatherby Magnum two weeks before this hunt. After a quick trip to a makeshift “backcountry range” I realized my rifle was hitting about 10 inches high at 100 yards.
While this eased my mental pain a bit, it didn’t help the fact that I still had two unfilled buck tags in my pocket. This was the point at which I decided it was time to do anything and everything I could to improve my shooting ability and my rifle setup. Enter the Swagger SFR10 Quick Detach Bipod.
Love optics? We certainly do here at Backwoods Pursuit! Make sure to check out our MONSTER 26 BINOCULAR REVIEW, as well as our massive 19 SPOTTING SCOPE REVIEW. For both of those reviews, we lined up the optics and tested them side by side!
If you are in the market for some top-tier binoculars, make sure to check out our review comparing the Swarovski NL Pure vs Zeiss Victory SF vs Leica Noctivid binoculars. We dive deep into the performance differences of those three pairs of binoculars.
Are Bipods Really Good for Hunting?
For years I’ve heard the hunting crowd talk about shooting at longer ranges and the capabilities of guns paired with a bipod. Since I bought my first rifle at the age of 12, I had used the same old Tasco World Class 3-9×40 scope. I can’t argue with the success I’ve had with that scope as every buck and bull I currently have on my wall were taken with it. My thought was always that I didn’t see a need to fix what wasn’t broken. I knew my ballistics well and stayed within my effective range. It worked great …. until it didn’t. This led me to evaluate my current rifle setup and got me thinking about using a bipod.
The dent in my scope, along with that gut-wrenching hunting experience, prompted me to really look at what was newer on the market in terms of optics. It opened my eyes to the fact that using a 20 year old scope with low-end optical quality, might not be the best idea. After this fiasco of a hunt, I significantly upgraded my scope to the Zeiss Conquest V4 6-24×50 (Check out our full review of the Zeiss Conquest V4 scope here), added a muzzle brake to the .300 Weathery Mag to make shooting more enjoyable and recoil more manageable, and decided to give a bipod a try. It ended up being a game changer.
One of the biggest complaints folks have against attaching a bipod to their rifle is the extra weight and bulk they’ll be carrying around. The reality is, that’s an absolutely valid concern. There is no way around the fact that a bipod will absolutely add both weight and bulk to your rifle. The real question you have to answer is, is it worth it to YOU? I know what the answer is for me personally, but that’s something you’ll have to figure out for yourself.
Because I wanted to improve my ability to shoot effectively at longer ranges, a bipod was the next add-on I knew would add significant value. I knew I wanted a bipod that was not overly cumbersome or heavy since I planned on it living on my gun during rifle season. Being new to bipods, I was drawn to Swagger for their strong reputation amongst avid shooters and because their products are made in the U.S.A. The SFR10 Bipod fit the bill perfectly.
Do bipods make a big difference when rifle hunting? Are they really worth it? Ultimately, you’ll have to answer that question, but if used correctly, the fact is that the right bipod will absolutely increase your effective range. Sure, it will add weight and bulk to your rifle, but for me that is a price I’m willing to pay in order to make a more ethical and effective shot when it counts.
Check Out The Swagger Bipods Side By Side In Video!
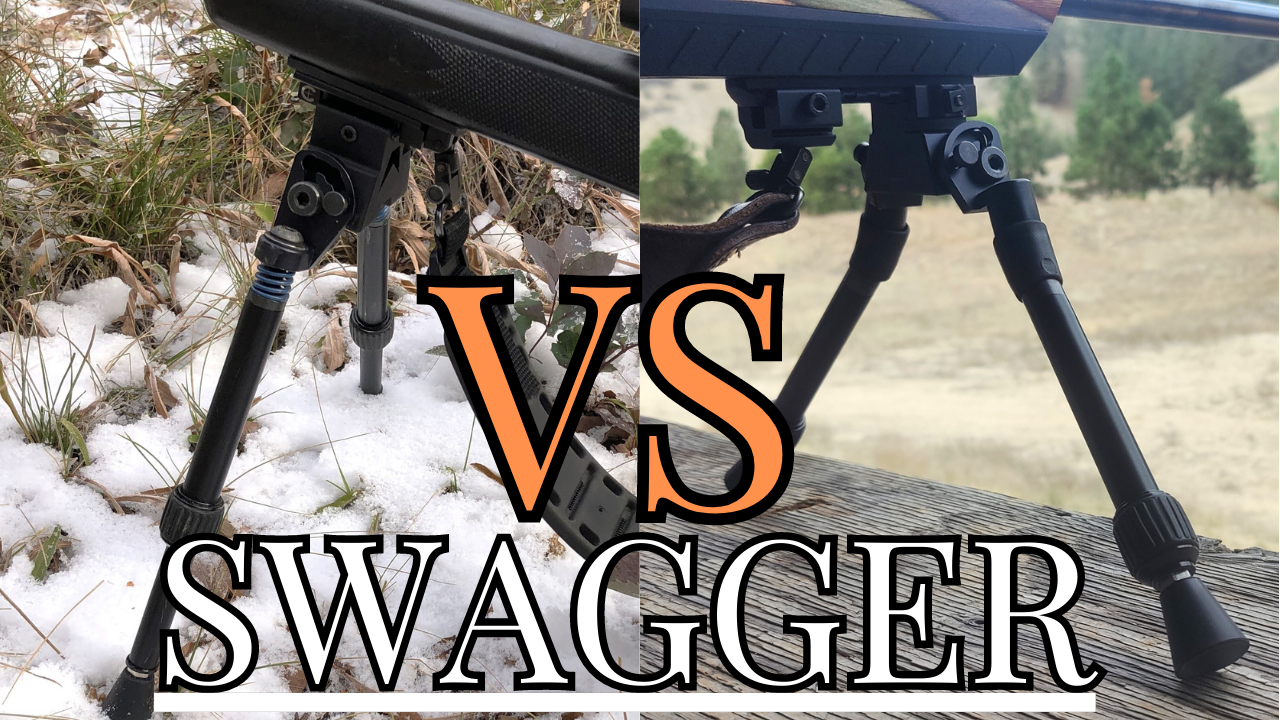
Swagger SFR10 vs SEA12 Specs: Swagger Bipod Review
Bipods come in a lot of different sizes, weights, attachment styles, and designs, so before we dive into the details of how we did our testing for this Swagger bipod review, here are the specs of the Swagger SFR10 and SEA12 bipods:
| Swagger SEA12 vs SFR10 | ||
|---|---|---|
| Bipod | SEA12 Bipod | SFR10 Bipod |
| Weight | 13.6oz | 15.2oz |
| Min Height | 9in | 6in |
| Max Height | 12in | 10.5in |
| Quick Detatch | No | Yes |
| Mounting Style | Pic Rail | Pic Rail |
| Pan | No | No |
| Cant | Yes – Hybrid | Yes – Hybrid |
| Leg Style | Twist lock | Twist lock |
| Leg Sections | 2 | 2 |
Swagger SFR10 Bipod – Adaptability
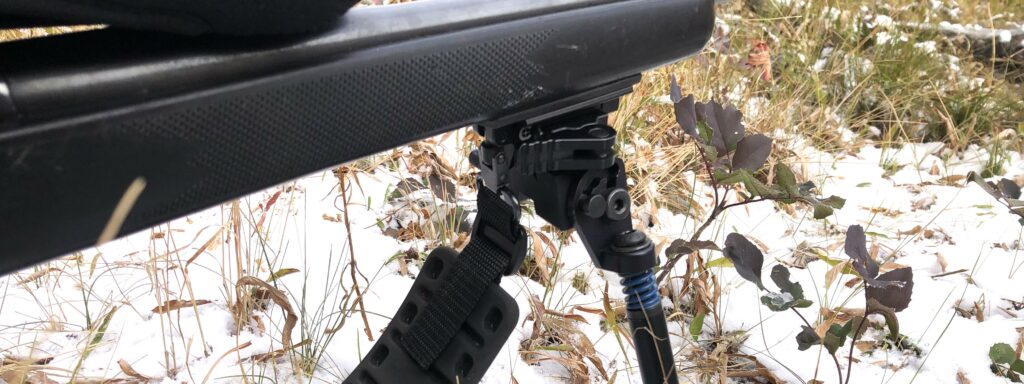
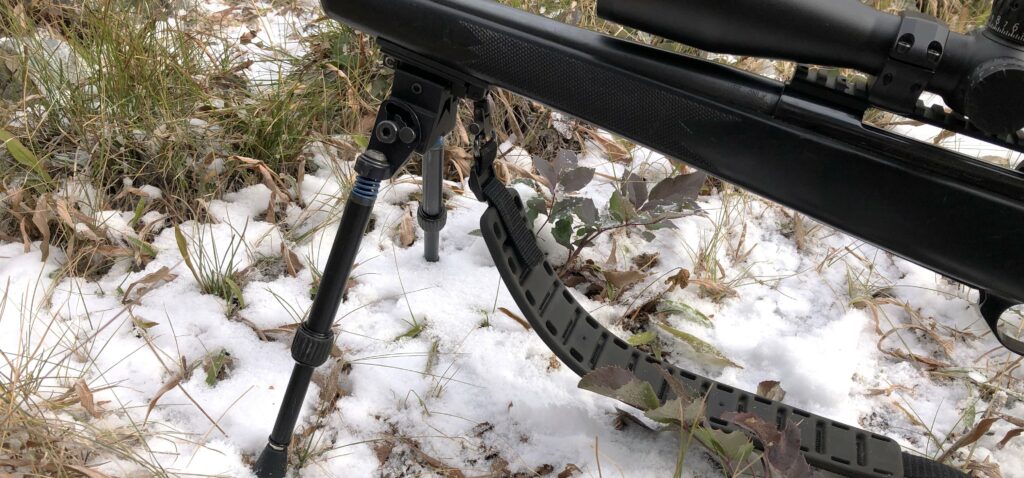
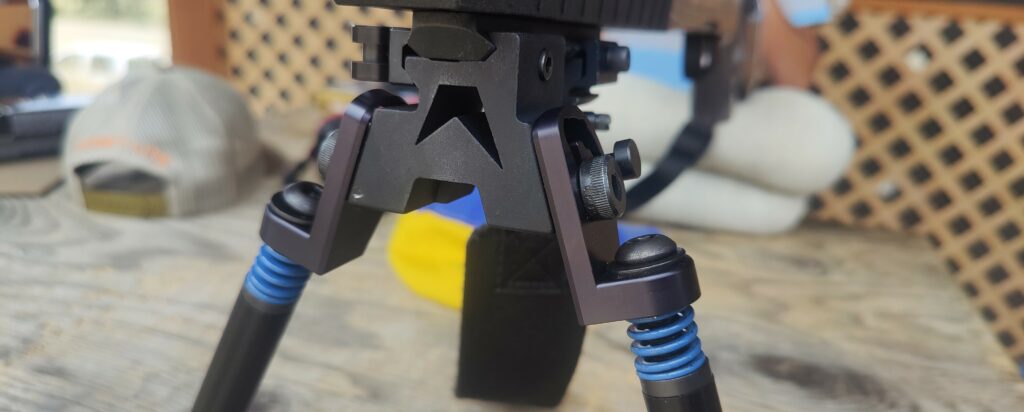
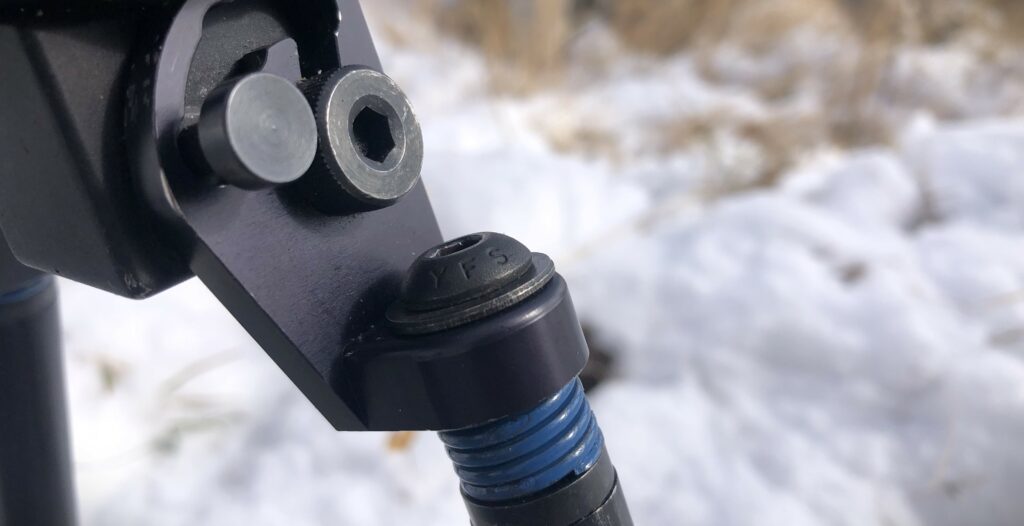
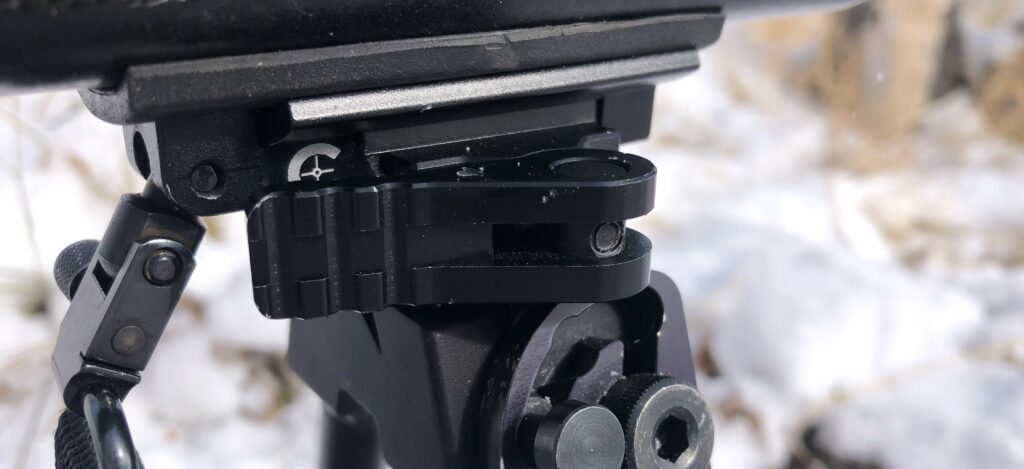
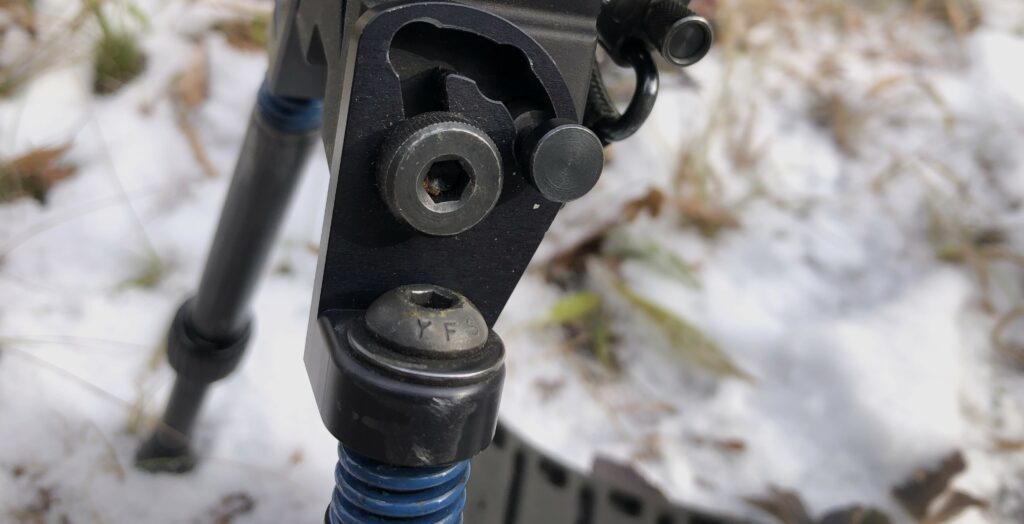
The Swagger SFR10 bipod is extremely adaptable and includes a bunch of great features that come in handy when shooting on a bench at the range or setting up for a shot in the backcountry. First, the spring-loaded active tension of the SFR10 allows the shooter to fine-tune flexibility to the specific need and preference for their situation. With a few rotations, each leg and its spring can be independently adjusted from “open” to “balanced” to “closed,” for different shooting scenarios.
The “open” tension essentially allows for maximum flex on the legs of the bipod, and you can easily “load” the bipod for the shot. Tighten the active tension to “closed,” and you get virtually no play with a rock-solid rest. I found myself most comfortable with the “closed” tension to ensure I could have full control of getting my rifle leveled and locked in for various hunting situations.
Swagger SEA12 Bipod – Adaptability
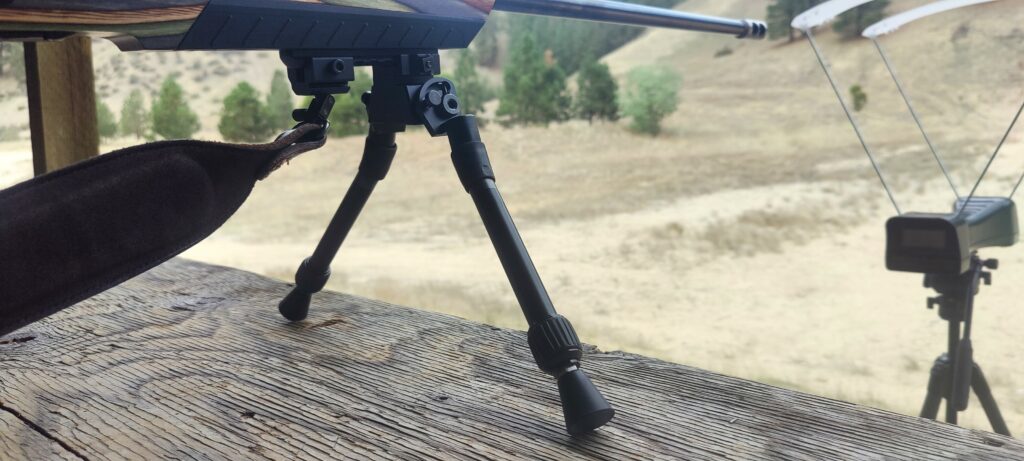
The Swagger SEA12 bipod is similar to the SFR10 in a lot of ways with its extreme flexibility in the rubber covered leg joints. Swagger calls the SEA12 their “Extreme Angle” bipod as you have the ability to independently flex each leg in various extreme angles.
The Swagger SEA12 does not feature the quick detach lever like the SFR10, and does not give you the ability to adjust the tension of the springs like the SFR10 bipod. The SEA12 features the same twist lock legs, rubber feet, and push button mechanism for stowing the bipod when not in use.
One thing that is nice about the SEA12 vs the SFR10 is the extra height you get with it. With the SEA12 giving you a 9-12 inch range, while the SFR10 only gives you a 6-10.5 inch range, you may find yourself wishing for more height in your bipod especially if you are trying to set up for a prone shot and brush is in the way. The extra height the SEA12 bipod helps with these situations and gives you a bit more height.
If you rarely find yourself able to get a prone shot, you may want to look at something like the Swagger Hunter Bipods, which offer you a lot more height. You lose some of the stability that the SEA12 and SFR10 give you and add a lot of weight, but gain in versatility and height.
Swagger Bipods: Adjusting The Legs
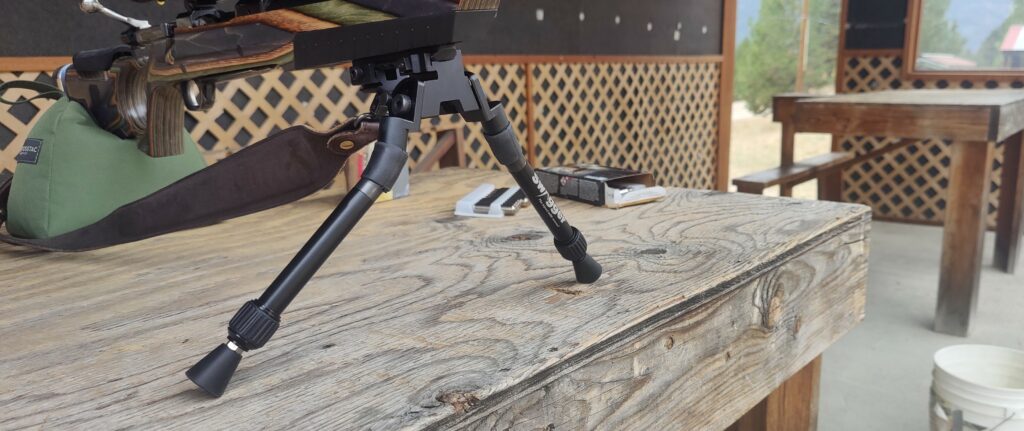
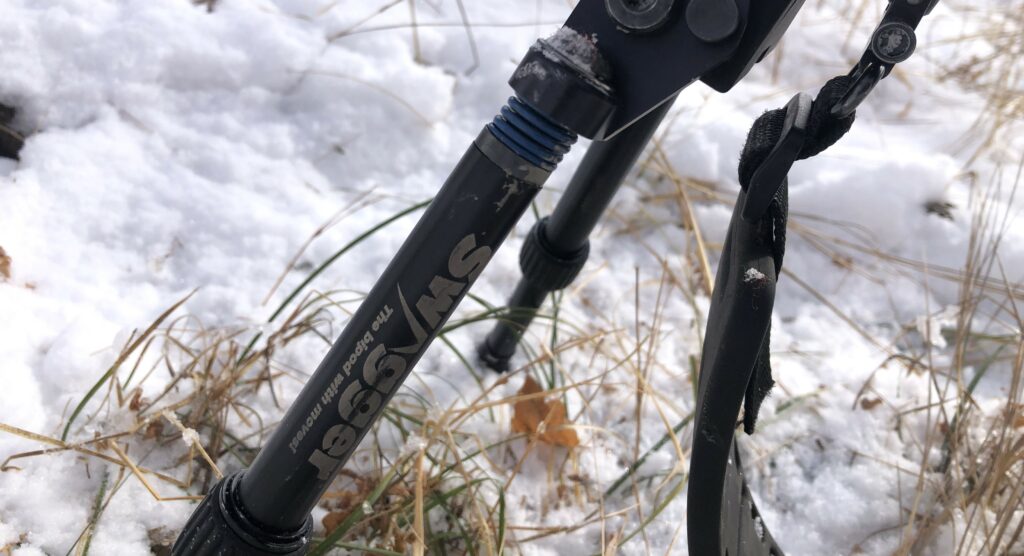
Both the SFR10 and the SEA12 can be adjusted the same way by loosening the rubberized twist lock at the
slip joint for their respective height modifications as desired. These twist locks are very smooth and easy to use, even with one hand while behind the gun.
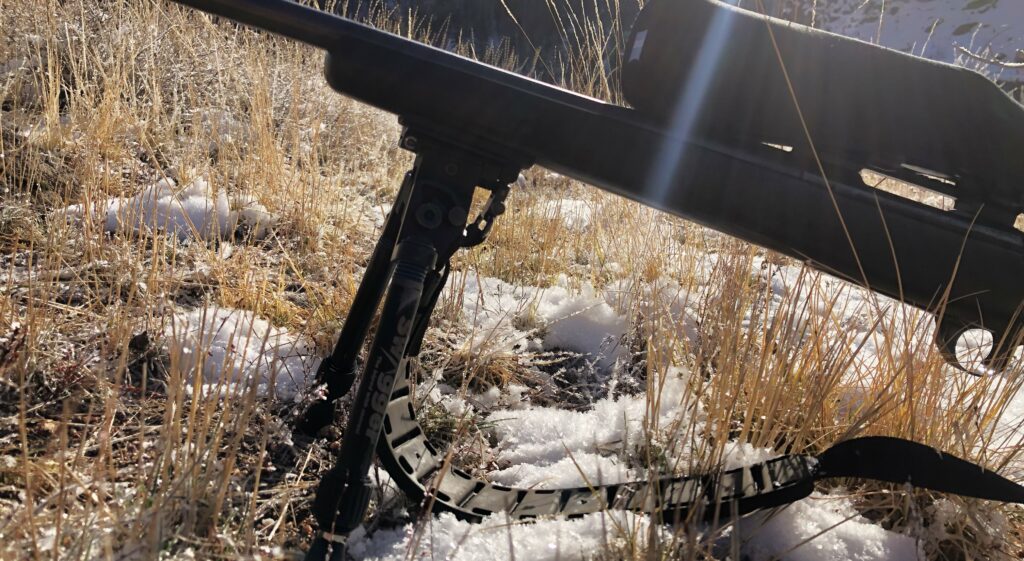
When not in use and I’m hiking with my rifle, I prefer to have the bipod legs fully collapsed down to 6.0” and move the 180º angle to minimize their encumbrance on my gun. Paired with the Creative Outdoors Slik Sling
on my Exo Mountain 4800 pack, I couldn’t even tell the bipod was on my gun.
On both the Swagger SEA12 and the SFR10, the rubber feet can be removed if you prefer to have a more pointed metal base. Personally, I found the rubber feet useful for adding traction and I didn’t see a need to take them off.
Backcountry Hunting With The Swagger SEA12 & SFR10
Pairing the Swagger SFR10 with my Crosstac Ultralight Rear Shooting Bag Rest truly opened my eyes to the benefits of having multiple points of stability. Take a look at Swagger’s website for additional videos and tutorials on the active tension concept. With the push of a button the bipod can quickly be stowed at a 180º angle or you can use the modular leg technology to adjust to a 45º or 90º shooting position. Depending on the situation, each of these angles can be extremely useful for uphill or downhill shots.
Given that backcountry hunting rarely offers a shot on flat ground, the adaptability of both the SEA12 and the SFR10 is absolutely clutch and gives you the ability to adjust as needed depending on the shot angle. In hunting situations I personally always try to get to a prone shooting position if possible. I found that fully extending the bipod legs out to 10.5”, along with having it level on top of my pack, allows me to clear away pesky brush that is so often in the way when trying to get a clear shooting lane while prone.
Pros and Cons: Swagger Bipods: SEA12 & SFR10
Throughout the testing for this Swagger bipod review, we found a few minor inconveniences and things to be improved upon:
Quick Detach Lock: SFR10
The quick detach locking mechanism used to take off the bipod is VERY tight out of the box. Initially, I had
a hard time getting the bipod to attach to my pic rail, but thankfully the tension of the lock can be loosened by rotating it counterclockwise. Make sure you do this prior to heading out to the backwoods as the adjustment is difficult with cold hands in the field. It is a little finicky to get perfectly dialed in, so make sure it’s done ahead of time.
Leg Flex / Adjustment
Wtih the SFR10, even when the legs are fully “closed” or tightened down on the active tension system, there is still a slight amount of play on the bipod legs due to the various angles provided by the Modular Leg Technology System. It has an ever-so-slight “gap” between the locks for 45º, 90º, or 180º that allows for a small amount of wiggle room. While this is extremely minor, there were a few times at the range I wished it had absolutely no play when shooting from a bench rest. I didn’t notice it whatsoever in hunting situations, though.
Similarly, the Swagger SEA12 offers the same Modular Leg System, but since it does not offer the Active Tension System, you don’t have control over how much flexibility the legs offer. Because of this, there were times when I wasn’t able to “load” the SEA12 as much as I would’ve preferred.
No True Cant Adjustment
While both the Swagger SEA12 and SFR10 bipods both allow you to cant your rifle to make sure your rifle is level when taking the shot, both models have you go about this in an unconventional way. Most bipods that feature the ability to adjust the cant of your rifle have some kind of tension knob or something similar. Both of these Swagger Bipods require that you adjust the cant by using either the twist lock legs, which is not ideal, or conversely, grabbing one of the legs and utilizing the flexibility they offer to move the leg to one side or the other, effectively doing the same thing as a typical cant feature.
While moving the leg to fine tune the level of your rifle isn’t ideal, it works. Personally, I’d prefer a typical cant feature, but that would add unnecessary weight, especially given that you can accomplish the same thing using the flexibility of the legs.
Our Real-World Experience: Swagger Bipod Review
Fast forward a bit to the summer of 2022. I spent a bunch of hours getting my new scope dialed and
toyed with the Swagger SFR10 to improve my groups at the range. After putting more boxes of ammo
through my gun than I’d care to admit and practicing at distances I never have in the past, my
confidence was at an all-time high entering the 2022 season.
Having the SFR10 bipod on my gun quickly paid off in a real-world hunting situation on my 2022 Idaho
mule deer hunt. After a predawn, five mile hike with 1,800 feet of elevation gained, we quickly spotted a
herd of deer including a shooter buck. The herd was slowly feeding toward their bedding area about
1,000 yards away.
After methodically looping around the bowl and staying out of sight to close the distance, the deer were working up the ridge coming towards us in the scattered timber. Before cresting the final ridge where we expected the deer to be, I extended out the legs of the bipod to 10.5” and had them at a 90° angle knowing that a shot opportunity might happen fast, or not at all.
As expected, we spotted the deer milling about in the trees at just over 100 yards. After several tense minutes when the deer were unaware of our presence while we were trying to locate the buck, we finally spotted him but did not have a clear shot. Several does were headed further up the ridge downwind of us.
Sure enough, the lead doe caught a whiff and was on high alert. The buck was lagging behind the group, but quickly started making a move up the mountain following the does who had us pegged. The terrain and uphill angle were such that getting on the ground for a prone shot was not an option.
I had to either make an offhand shot (which I was not willing to do) or quickly find something to shoot from. A quick scan of the ground showed a 2-foot-tall rock about 8 feet in front of me. I decided to make a quick move over and sat down behind the rock with the Swagger SFR10 bipod straddling the top of it.
The Swagger SRF10 allowed me to quickly get a solid sitting rest and the uphill clearance I needed to get above the brush and downed timber for a clear angle at the vitals. The report of the rifle and the stumbling buck down in seconds confirmed I had made a lethal shot. In part thanks to the newly added bipod on my gun, I had cast out my demons from last season and filled my 2022 Idaho Mule Deer tag with a one shot kill.
Pair that with another one shot kill on my Colorado Mule Deer buck, and my hunting buddy using this bipod/rifle to fill his 2022 Colorado elk tag, and I am a happy customer. The proof is in the full freezer! I’m convinced the Swagger bipod helped make me a better shooter.
Swagger Warranty: Swagger Bipod Review
Swagger offers a limited lifetime warranty (warranted to the original purchaser against any defect in materials and workmanship for the lifetime of the product) and a “Guarantee” that if the bipod doesn’t give you more
shooting flexibility and more shooting confidence, they will buy it back, no questions asked, within 30
days of purchase. I love it when companies stand behind their products, and this guarantee does just
that.
Swagger Bipod Review: Conclusion
After putting in a full years worth of testing for this Swagger bipod review, I can unequivocally say that for me, the days of trying to get steady without a bipod on my gun are gone. Getting to test this bipod for over a full year at the range and in the mountains in real life hunting situations, I’m a firm believer in the value added to my shooting capabilities with the Swagger bipod.
Subscribe to Backwoods Pursuit to get Your FREE Backcountry Gear Worksheet!!!
Dial in your gear list, calculate your pack weight, and lighten up your pack with this handy tool!


