
 Here in part one of this series we are going show you how to choose a backpacking tent that is best for you. Venturing into the backcountry for a multi-night trip can be an intimidating prospect if you are preparing for your first trip. If you are experienced in making nature your home, you are familiar with the ongoing pursuit of finding that “perfect” camp setup. If not, how to choose a backapacking tent can be an overwhelming task. Hopefully this will help you in choosing a backpacking tent that is best for your needs.
How to Choose a Backpacking Tent
 As elusive as this pursuit can be, there are some absolutes that will make your experience the best it can be. I hope this will help you consider different primary features so you can select the best backpacking tent.
This series is dedicated to helping you make the tough decisions of what gear you decide to put your faith in when it counts. From scouting to crunch time in the fall and winter, its critical to know that the gear you selected won’t be the reason you are forced to come home early.
Primary Features to Consider In a Choosing a Backpacking Tent
With so many great shelters on the market today, how to choose a backpacking tent can be intimidating. So, before you dive into selecting which tent you want, you will want to prioritize what YOU need for the type of hunting/backpacking you will be doing. With that in mind, these are some of the primary tent features you’ll have to choose from. If you go down this list in making selections of the features you want, it will help you narrow down your search considerably.
Freestanding vs. Semi-Freestanding vs. Non-Freestanding Backpacking Tent
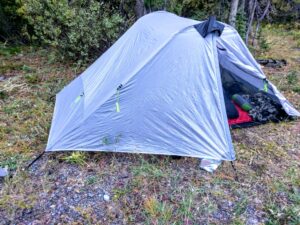
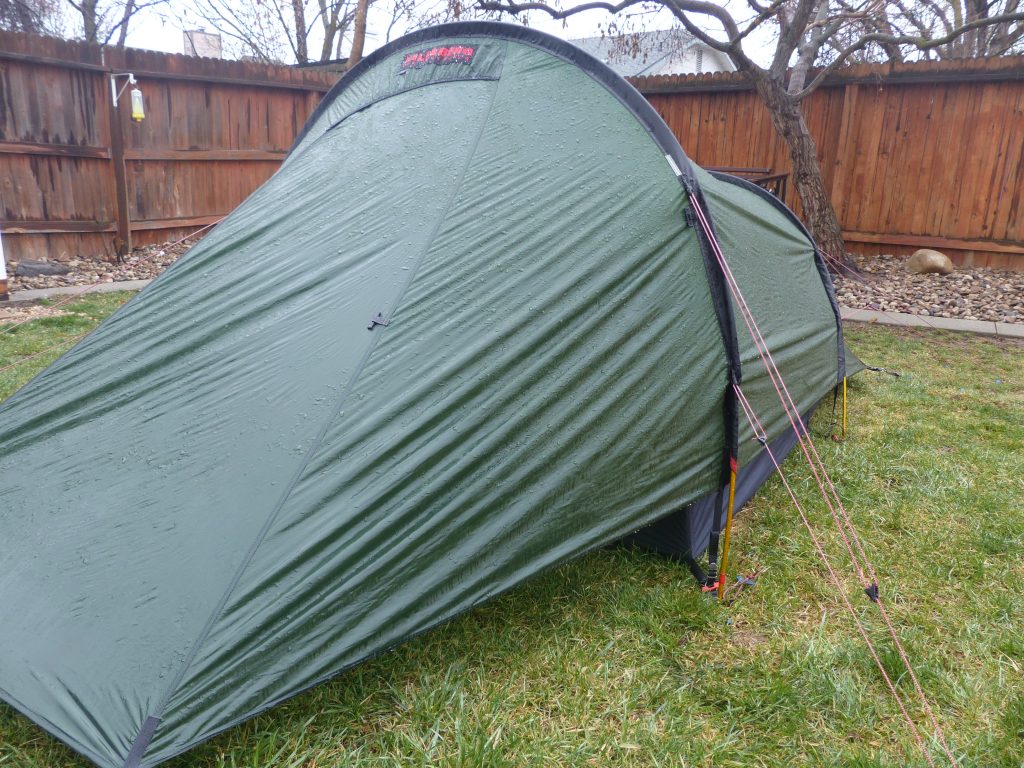
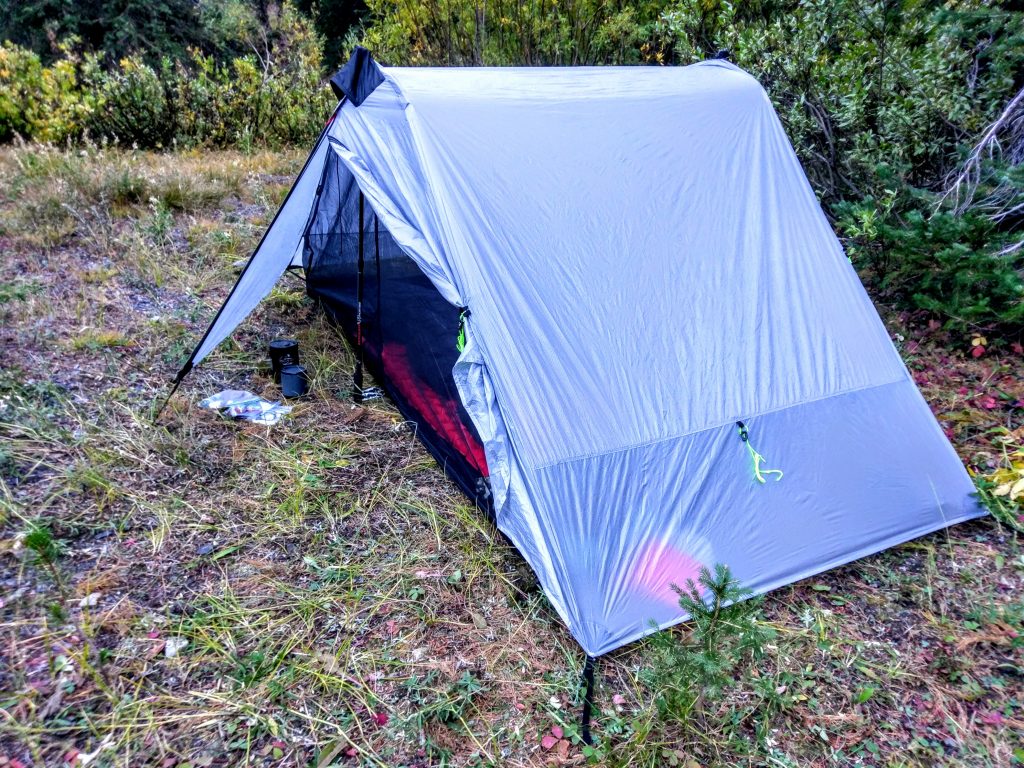 To narrow down your search, its important to consider whether you will need a free standing shelter, or if a non-freestanding/semi-freestanding shelter is an option. The downside to freestanding tents is that they typically weigh more due to the additional poles needed to fully support the shelter. A true freestanding shelter does not need stakes to be usable.
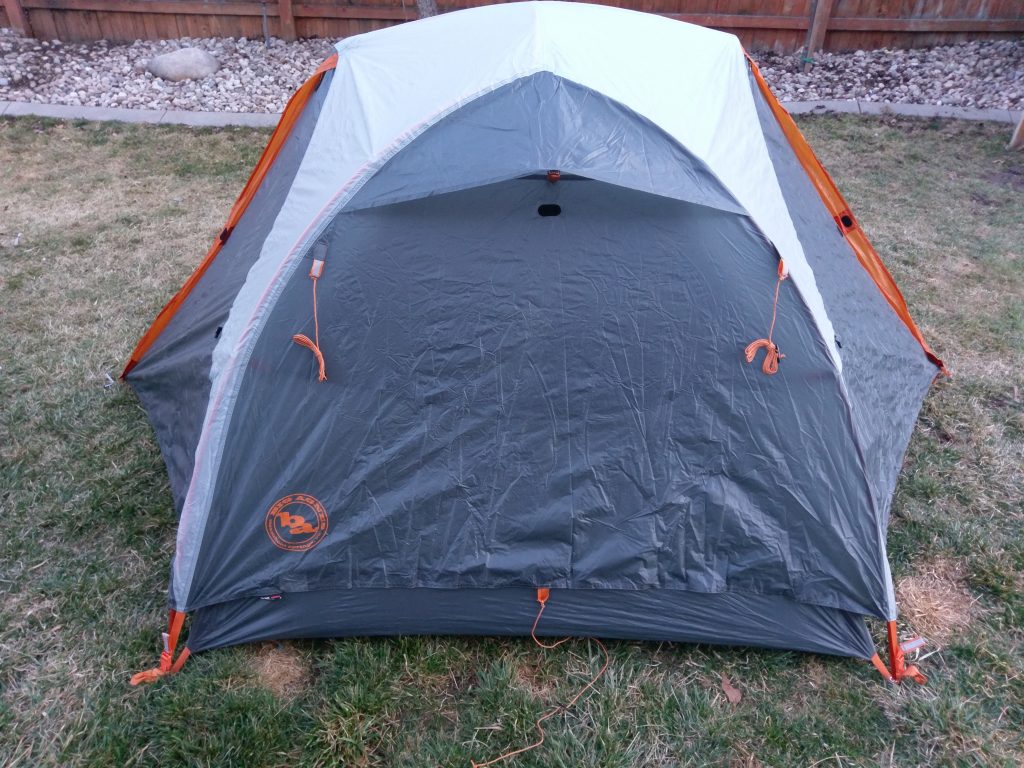
Many manufacturers may state that a shelter is “freestanding,” but the usable space is drastically reduced without staking out the tent. In my opinion, and practically speaking, these would fall into the “semi-freestanding” category. A semi-freestanding tent usually requires that some stakes be used, but have a reduced pole structure which reduces weight. This requires that at least a few stakes be used to have a usable shelter. If you find yourself primarily in rocky terrain where driving a stake in the ground is nearly impossible, you may want to go with a free standing model such as the Big Agnes Copper Spur.
Pros of a Freestanding Backpacking Tent
- Easier to pitch
- No stakes needed
- Typically feature a floor
Cons of a Freestanding Backpacking Tent
- Heavier (more poles)
- Usually less space for the weight
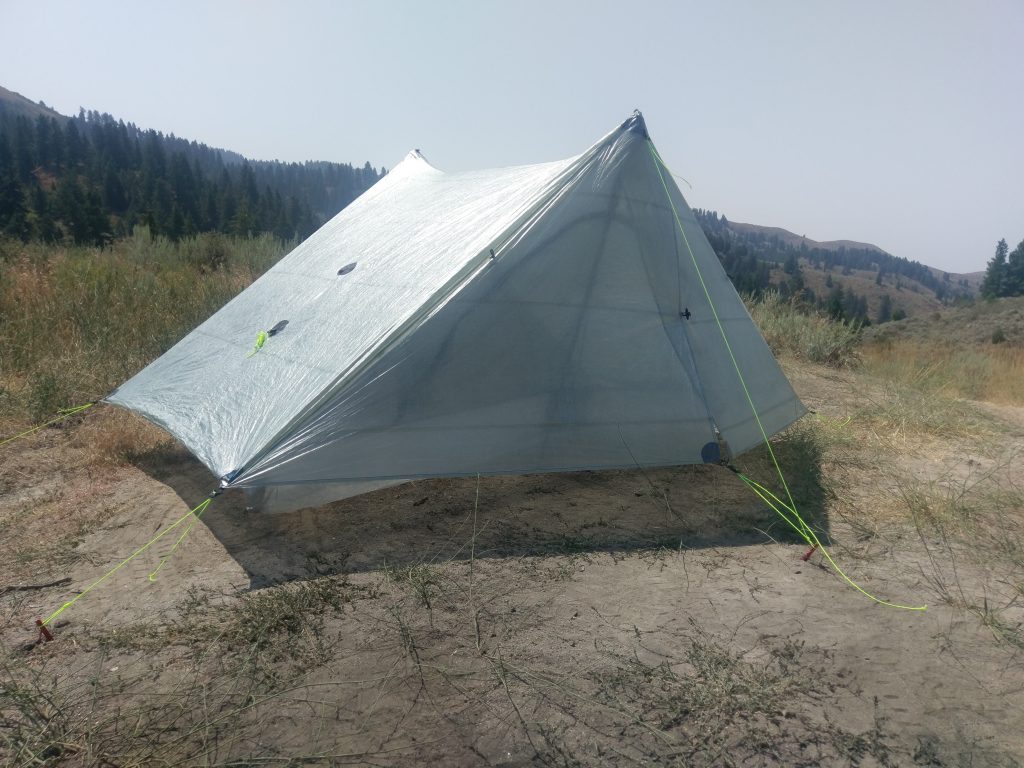
If you are in terrain where you can get stakes in the ground, you will have a much wider selection of tents to choose from. Floorless shelters are typically not freestanding whereas many of your two-pole designs are free standing. Many non-freestanding shelters, such as the Six Moon Designs Lunar Duo Explorer and the ZPacks Duplex , offer you the comfort of a floor while also being a non-freestanding shelter. Some shelters such as the VIAM Outdoors CC Divide allow you to customize your tent by adding or subtracting the floor.
Pros of Non-freestanding Backpacking Tent
- Lighter weight
- More compact (when packed up)
Cons of Non-freestanding Backpacking Tent
- More difficult set up
- Requires the use of stakes (often times more stakes are needed than free-standing tents)
- Usually single-walled
Non-freestanding shelters typically require a little practice to set up. You won’t want to be pitching one of these for the first time on the mountain in the dark with a storm rolling in. You’ll want to practice once or twice to get the hang of it before you hit the trail.
Choosing Between Floorless vs. Bathtub Style Floor Backpacking Tent
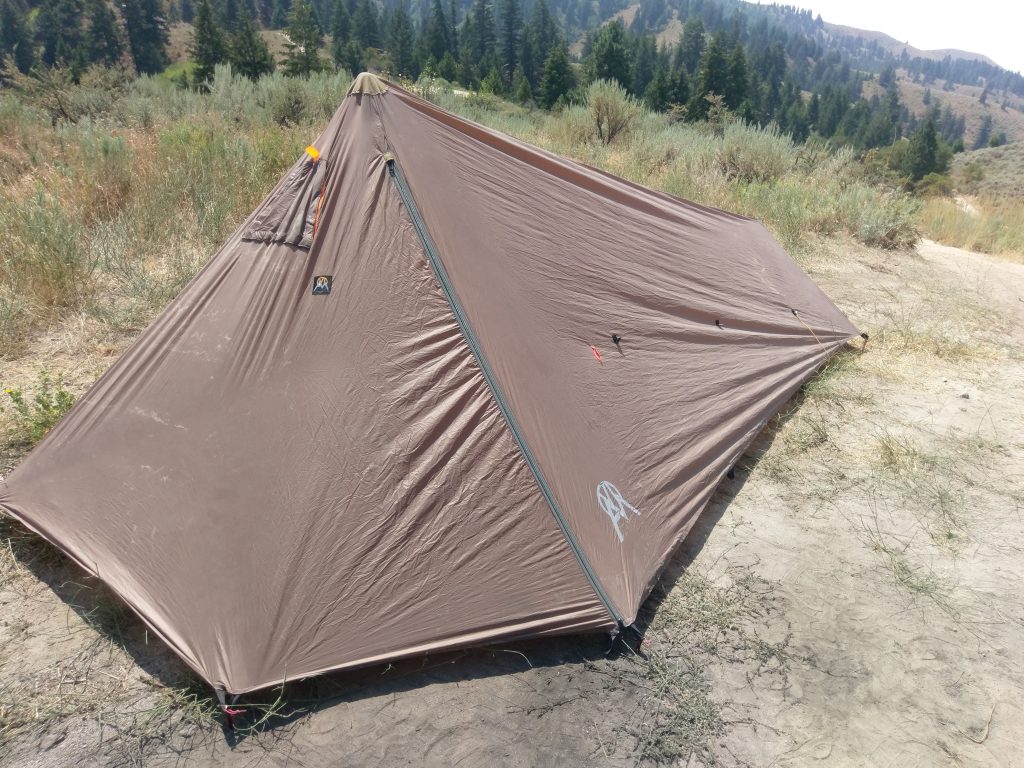
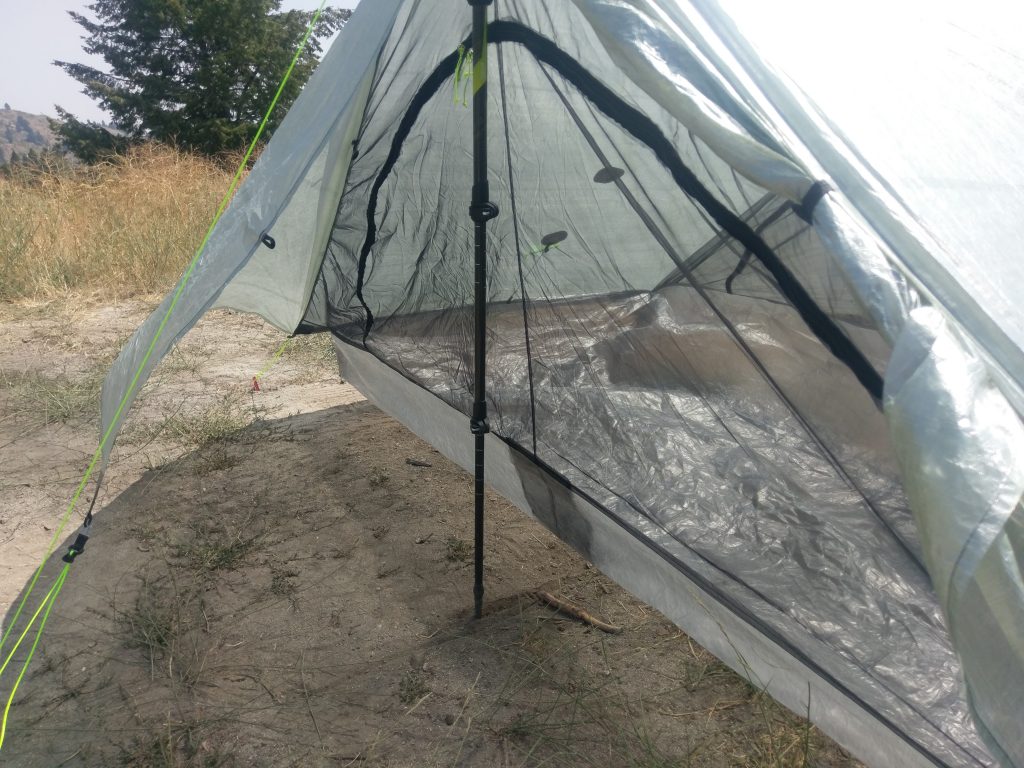
 Another consideration when talking how to choose a backpacking tent is whether you want a tent with or without a floor. A floorless shelter will typically weigh much less than one with a floor. If you are an ultralight enthusiast, this may be the best option for you. Setup with these shelters is typically done with trekking poles and some companies offer poles for purchase with their floorless shelter.
Pros of Floorless
- Lightest shelters out there
- Most compact
- Often times larger interior
Cons of Floorless
- No protection from critters/bugs
- More likely to puncture your pad
- Pad/bag/quilt get dirty
- More susceptible in wet weather
The primary downside to floorless shelters is rather obvious; they are floorless. They offer no protection from bugs and critters joining you inside your shelter. Conversely, floored shelters are typically significantly heavier and take up more space in your pack.

There are, however some extremely lightweight shelters with a full floor on the market. Often times though, for a tent to achieve that ultra light weight, the interior space is limited whereas your floorless shelters are often times lighter and roomier inside. Shelters with a floor tend to offer better protection from the elements and add an extra layer, thin though it may be, between you and the cold ground. In wet conditions, there isn’t the concern of your sleeping gear getting wet and interfering with a good nights sleep.
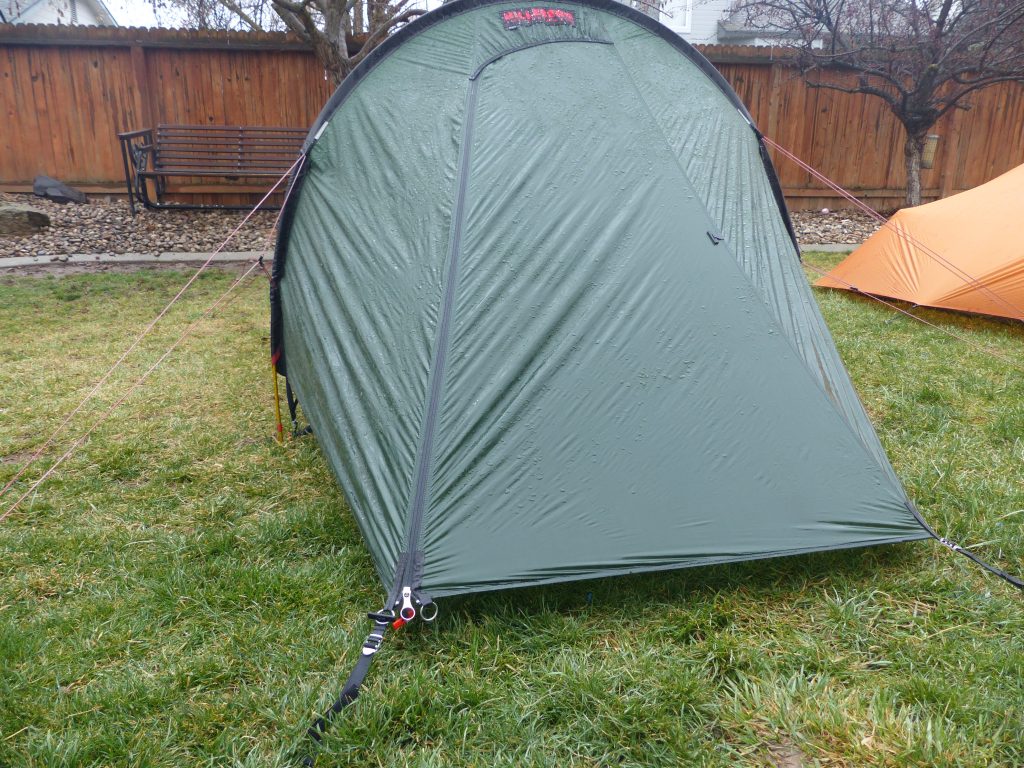
Vestibules/Doors
 The ideal number and size of vestibules is a personal preference. Depending on what gear needs stored will determine if you can make due with a one door, one vestibule shelter, or if you have to have a two door, two vestibule setup. Also of consideration is the position of the door(s). Some prefer front entry while others prefer side entry to their shelter. This is another feature to keep in mind.
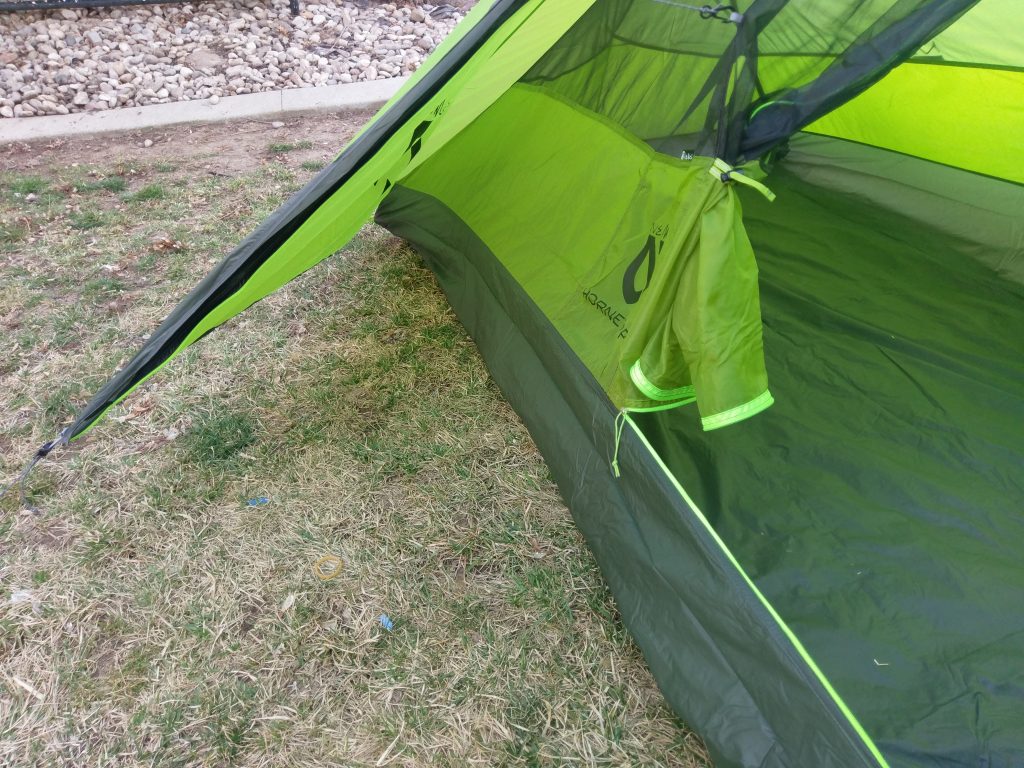
Single-Wall vs. Double-Wall
Another option when considering how to choose a backpacking tent is whether you want a single wall or double wall setup. A single-wall tent doesn’t have a “rain fly” like a double wall does. A double-wall will typically consist of mesh on the inside portion and a bathtub style floor made of a rip-stop nylon.
 The rain fly covers the entire shelter and offers waterproof protection in the double-wall shelter. A benefit with this design is that you have the option to remove the rain fly to enjoy the stars and breeze on those mild nights. Because of the two layers, double-wall shelters typically weigh more than single-wall shelters.
 A single-wall shelter has only one layer of material and eliminates the mesh layer. This reduces weight, typically by a significant amount, but also comes with drawbacks. Single-wall shelters tend to offer less ventilation, thus creating the potential for condensation. Condensation can be a real issue when you mix your warm body with a cold night in the backcountry if a single-wall tent isn’t designed with adequate ventilation. A properly vented single-wall, however, will not likely have an issue with condensation.
Tent Materials
Tents are generally made of ripstop nylon, with a few exceptions. Some shelters, such as the ZPacks Duplex use a Cuban fiber now known as Dyneema for its incredible weight to strength ratio and waterproof attribute. By far the most popular is ripstop nylon due to its cost savings. Dyneema is an incredible fabric for a shelter. It’s super strong, waterproof, and doesn’t require the use of a protective ground sheet. Drawback? It’s incredibly expensive.
Material Thickness
Material thickness is another primary thing to consider when you are deciding how to choose a backpacking tent. Pay close attention to the various weights of ripstop nylon fabric used in the shelters. Ripstop nylon is given a “Denier” number to provide you with the thickness of the material used on different portions of the shelter.
For instance, the Nemo Hornet uses a 15D ripstop nylon fabric on the floor to help achieve its ultra-light weight. Almost all the other shelters I tested use a 30D ripstop nylon to give it extra durability. 15D material in the floor is going to be much more prone to punctures, but might be ok for the fly.
It’s important to know how manufactures achieve the weight savings so you can decide if the compromise is worth it to you.
Waterproofing
Companies use several different coatings in waterproofing their shelters. The most common being polyurethane and silicone. Some companies use both, one on one side of the fly, and the other on the other side. Others use strictly silicone, while some even apply several layers of silicone to add to the hydrostatic test rating.
Silicone is considered the better of the two options as it lasts up to four times as long as polyurethane. This adds to the tear strength of the shelter’s base fabric. It penetrates the fabric and strengthens the fibers rather than remaining on top of the fabric as a coating. Also, many manufacturers apply the polyurethane on the underside of the fabric, which allows moisture to soak into the fabric making the dry time much longer. A silicone waterproofed shelter prevents the moisture from penetrating the fabric, reducing dry time. Silicone doesn’t breath though, so a silicone-treated shelter needs to be well ventilated. Both work well, but silicone overall is a better option.
Hydro-Static Rating
Most companies will be able to tell you what their shelter’s hydrostatic rating is if you ask them. While some advertise it plainly, others make it more difficult to find. What is a hydrostatic rating? Simply put, it measures how many vertical millimeters of water the material can withstand before the material begins leaking.
For instance, a shelter with a hydrostatic rating of 1200mm should withstand approximately 47 inches of static water before it begins leaking. That may sound like a lot, but 1200mm is on the lowest end of what most shelters are rated. This waterproof coating wears off over time, so make sure to start with the highest rating you can afford. Shelters that feature Dyneema don’t require either of these waterproof coatings as the material is naturally waterproof. We’ll give you the ratings of each of the shelters we review in part two.
Stay tuned in for part two of the series where we review a handful of top tents on the market. You won’t want to miss it!
A HUGE thanks to the folks over at S&S Archery, Six Moon Designs, ZPacks, Nemo, and VIAM Outdoors for donating, lending, and discounting these shelters so I could bring you this review.

I used to be fine sleeping on the ground on an ensolite foam pad, but as my body as aged I find I no longer sleep much when I do that. I switched to a hammock. I put together my own kit last year that weighed four pounds. Since then, I’ve started using an ultralight hammock from Kammok – two pounds for the entire set-up. The primary disadvantage is that I’m having to carry two sleeping bags as I use my 45-degree down bag as an underquilt. (I’d love to buy an ultralight underquilt, but I’m saving money by using the bag I have.)
An advantage of hammocks is they don’t require flat ground — I just need two appropriately-sized & appropriately-distanced trees without too much of a slope beneath them and little to no vegetation below. It’s grand. A hammock also puts less impact on the ground. If there aren’t two trees available, I can still set up the hammock as a bivy sack.
Unless I know there will be no trees where I’m heading, I doubt I’ll ever carry a tent again.
Thanks for the insight Kim! Hammocks do seem to be on the rise in popularity! Sounds like a great setup. Thanks for reading and appreciate the feedback on your experience!
thanks for the information